
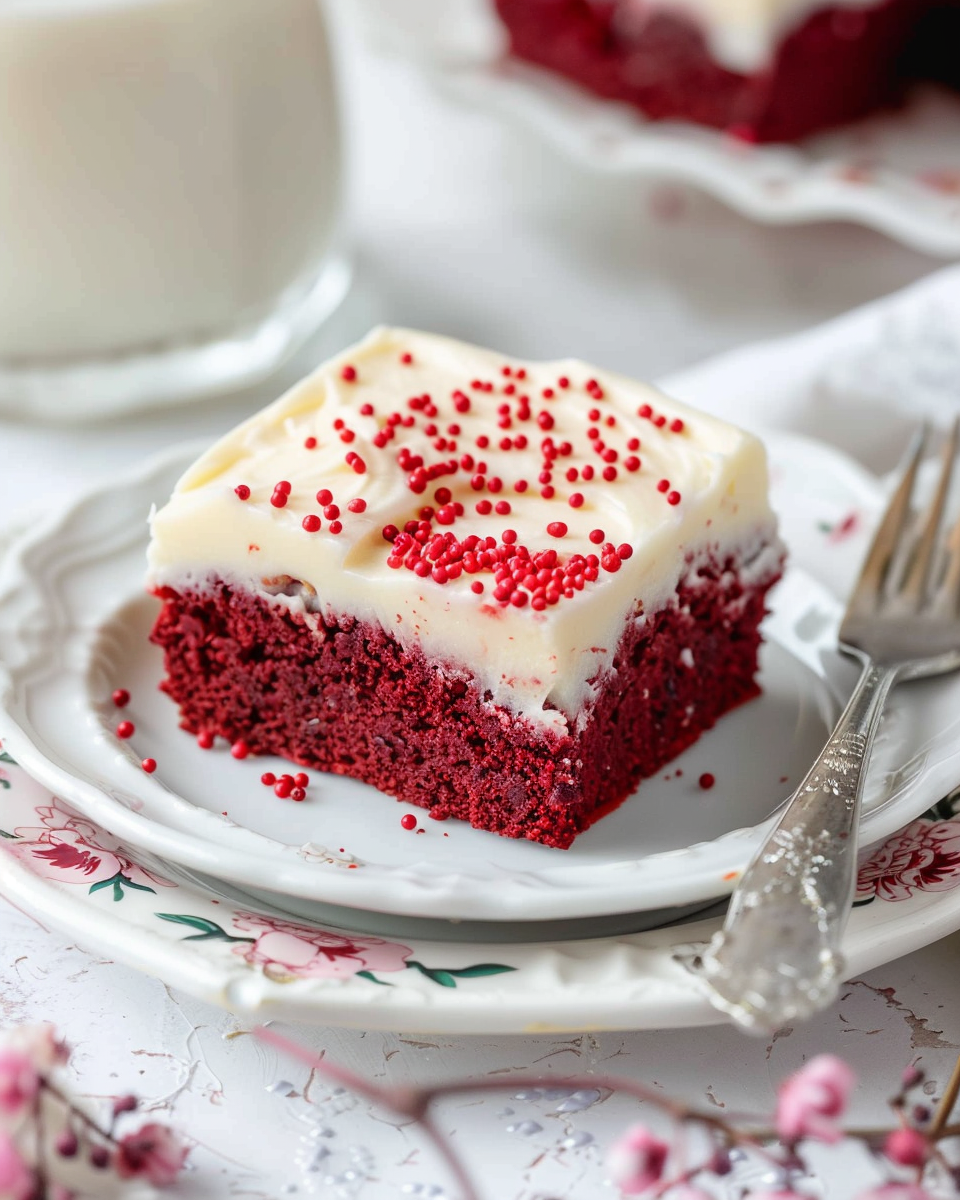
Red Velvet Cookie Bars

Soft, fudgy red velvet bars topped with tangy cream cheese frosting — all the charm of a red velvet cake, baked and sliced for easy sharing.
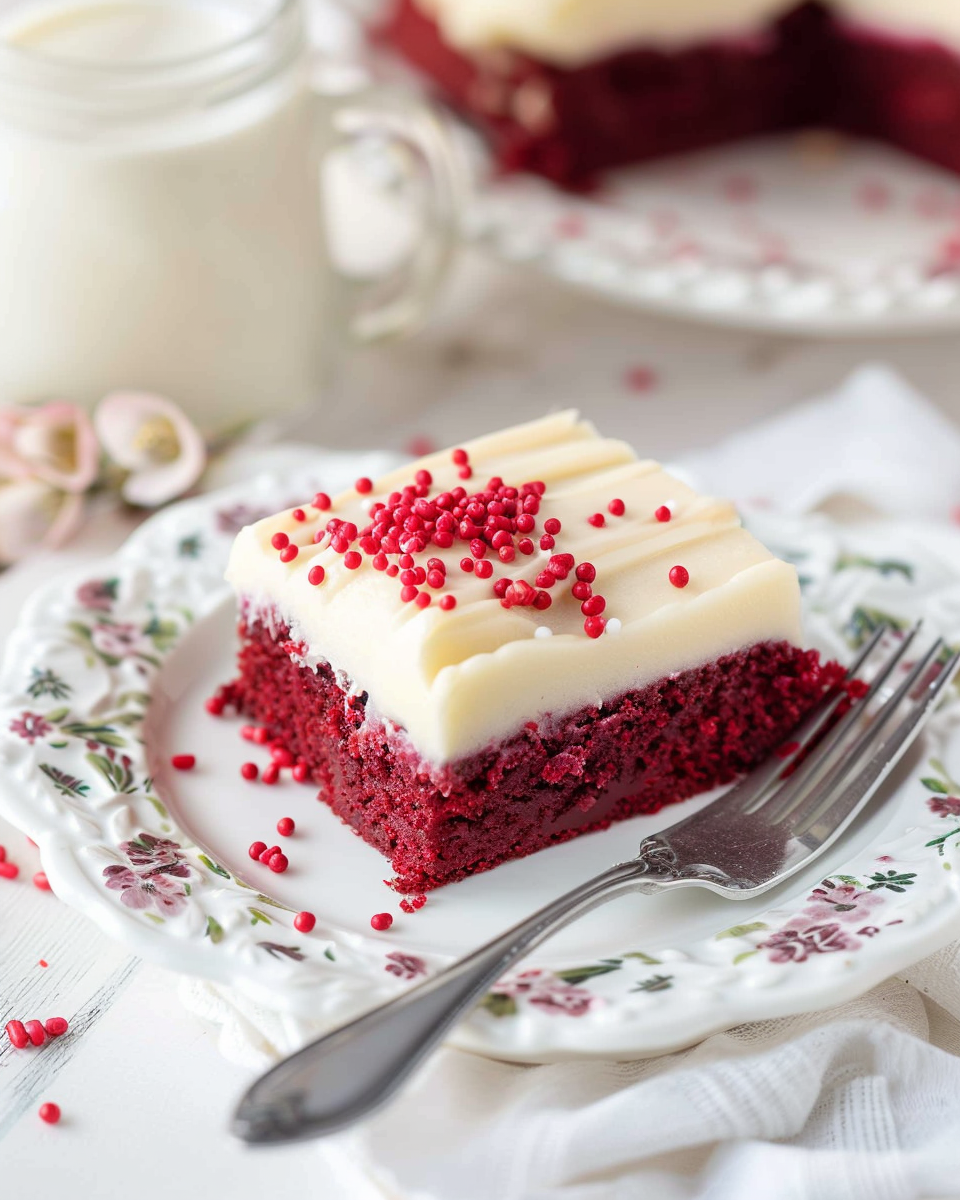
This batch of red velvet cookie bars is one of those treats I turn to when I want something festive yet unfussy. I first pulled this combination together on a snowy afternoon when a request for something 'red and chocolatey' came from my neighborhood cookie swap. The result bridged the line between a chewy cookie and a tender cake: the top sets with a slight crackle while the interior keeps a soft, chewy crumb. The subtle cocoa, bright red hue and a whisper of vinegar give it that classic red velvet character that always feels celebratory.
I love how approachable the technique is — no fancy equipment, just a bowl, a mixer and a 9x13-inch pan. These bars travel well, cut into neat squares for potlucks, and the cream cheese frosting brings the right amount of tang and sweetness to balance the cocoa. Every time I've served these at holiday gatherings or casual get-togethers, someone asks for the recipe. They store well and tend to disappear fast, which is perhaps the best compliment a baker can receive.
Why You'll Love This Recipe
- Versatile: baked in a 9x13-inch pan for easy slicing and sharing — no scooping or portioning necessary.
- Quick turnaround: about 20 minutes active prep and roughly 25–30 minutes in the oven, ready in under an hour.
- Pantry-friendly: uses staples like all-purpose flour, cocoa powder and common baking leaveners.
- Crowd-pleasing texture: crisp on top with a tender, chewy interior that keeps well day-to-day.
- Make-ahead friendly: bake the base day ahead, frost the next day for perfectly set frosting and easy transport.
- Customizable: dial the red food coloring up or down, or swap in natural beet powder for a gentler tint.
In my first run of these I used gel coloring and a little less sugar, and the family still debates whether gel or liquid gives the truer hue. Now I usually make a double batch for parties — the pan disappears before dessert coffee is poured. My neighbor once asked for three pans for a bake sale: that was the highest honor and proof these bars are reliably loved.
Ingredients
- All-purpose flour: 2 1/4 cups — look for a brand with consistent protein content like King Arthur or Gold Medal; spoon into the measuring cup and level for accuracy. Flour gives structure while keeping the bars tender.
- Cocoa powder: 3 tablespoons unsweetened natural cocoa — Dutch-process will change the acid balance and color slightly; natural cocoa gives the classic flavor.
- Baking powder & baking soda: 1/2 teaspoon each — combined leaveners help create a gentle lift while maintaining a chewy crumb.
- Salt: 1/4 teaspoon — balances the sweetness and enhances chocolate notes; fine sea salt works well.
- Unsalted butter: 1 cup (2 sticks), softened — use room temperature butter for proper creaming; avoid buttery-salty tub spreads.
- Granulated sugar: 3/4 cup — contributes to structure and a slightly crisp top.
- Brown sugar: 1/2 cup packed (light or dark) — for moisture and a mild caramel depth; dark brown gives a richer tone.
- Egg + egg yolk: 1 large egg plus 1 large yolk — the extra yolk increases tenderness and chewiness.
- Vanilla extract: 2 teaspoons — pure vanilla brings warmth and rounds the cocoa.
- Red food coloring: 1 tablespoon liquid or gel (use less if you prefer a lighter hue) — gel concentrates give stronger color without thinning batter.
- Vinegar: 1/2 teaspoon distilled or white vinegar — reacts with baking soda and brightens the red velvet tang.
- For the frosting: 1/2 cup (1 stick) unsalted butter, 8 ounces cream cheese (brick style, full fat), 2 1/2–3 1/2 cups powdered sugar, 1/4 teaspoon salt, and 1–2 tablespoons cream if needed to loosen the frosting.
Instructions
Preheat and prepare the pan:Preheat the oven to 350°F. Lightly grease a 9x13-inch pan or line it with parchment paper leaving an overhang. The parchment overhang makes it easy to lift the bars out for even slicing and cleaner edges after chilling.Dry ingredients:Whisk together 2 1/4 cups all-purpose flour, 3 tablespoons cocoa powder, 1/2 teaspoon baking powder, 1/2 teaspoon baking soda and 1/4 teaspoon salt in a medium bowl. Whisking aerates the mixture and ensures even distribution of leaveners so pockets or streaks don't form.Cream the butter and sugars:In a large bowl, beat 1 cup softened unsalted butter with 3/4 cup granulated sugar and 1/2 cup packed brown sugar until light and fluffy, about 2–3 minutes on medium speed. Proper creaming traps air which helps with rise and texture.Add eggs and flavor:Beat in 1 large egg, 1 large egg yolk, 2 teaspoons vanilla, 1 tablespoon red food coloring and 1/2 teaspoon vinegar until homogenous and no lumps of butter remain. Scrape the bowl to incorporate any pockets of unmixed butter.Combine with dry ingredients:With the mixer on low, gradually add the dry ingredients and mix until just combined and no streaks of flour remain. Avoid overmixing to keep the bars tender — stop when the dough looks evenly moistened.Press into the pan:Spoon the dough into the prepared pan and spread evenly. To press the dough without sticking, use a piece of wax paper between your hands and the dough. Aim for a uniform layer about 1/2 to 3/4 inch thick.Bake:Bake in the center of the oven for 25–30 minutes, until the top looks set and the edges begin to pull away from the pan. A toothpick inserted near the center should come out with a few moist crumbs but not raw batter.Cool before frosting:Allow the bars to cool completely in the pan on a wire rack before frosting. Chilling briefly in the refrigerator makes spreading the cream cheese frosting easier and cleaner.
You Must Know
- These bars store in an airtight container in the refrigerator for up to 5 days; freeze unfrosted bars for up to 3 months.
- Because cream cheese is perishable, always refrigerate frosted bars and avoid leaving them at room temperature longer than two hours.
- Using brick-style full-fat cream cheese yields the best texture for the frosting; whipped or low-fat varieties can be runny.
- Bars are best sliced with a sharp knife dipped in hot water and wiped between cuts for clean edges.
My favorite thing about this recipe is how forgiving it is: even when I've slightly overbaked a pan, a thick layer of cream cheese frosting rescues the texture and adds moisture. Family members have told me these remind them of classic layer cake but more convenient — one cousin requested them for every holiday from then on. The balance of mild cocoa, vanilla, and tangy frosting is what keeps people coming back for seconds.
Storage Tips
After frosting, refrigerate the bars in a single layer if possible, or stack with parchment between layers to prevent sticking. Store in an airtight container for up to 5 days; for longer storage, freeze unfrosted, tightly wrapped bars for up to 3 months and thaw overnight in the refrigerator before frosting. To refresh slightly dried edges, microwave individual squares for 6–8 seconds on a microwave-safe plate — the center will soften without melting the frosting if timed carefully.
Ingredient Substitutions
If you prefer less intense coloring, reduce the red food coloring to 1/2 tablespoon or swap with natural beet powder (start with 1 teaspoon). For a dairy-free version, use a vegan butter substitute and a dairy-free cream cheese alternative, though texture will be slightly different and refrigeration is still required. To make these with gluten-free flour, use a 1-to-1 gluten-free flour blend with xanthan gum; expect a slightly crumblier texture. Brown sugar can be swapped for all granulated sugar plus 1 tablespoon molasses if needed.
Serving Suggestions
Serve squares chilled or at cool room temperature with a dusting of cocoa or a few chocolate shavings. For an elevated presentation, pipe the cream cheese frosting using a round or star tip and garnish with fresh raspberries or a sprinkle of edible glitter for parties. These bars pair beautifully with strong coffee, milk, or a lightly sweetened tea and make an excellent portable dessert for potlucks, bake sales and holiday cookie trays.

Cultural Background
Red velvet has roots in early 20th-century American baking and became particularly iconic through Southern American traditions and classic hotels and bakeries. The characteristic reddish hue historically came from the reaction between natural cocoa and acidic ingredients; modern recipes use food coloring for visual effect. Over the decades it's evolved into cakes, cupcakes and these bar-style adaptations that keep the same flavor profile while simplifying the process.
Seasonal Adaptations
In winter, fold in 1/2 cup chopped walnuts for texture or top with a sprinkle of crushed peppermint for holiday flair. In summer, swap the frosting garnish for fresh berries and a light dusting of powdered sugar. For Valentine’s Day, make mini versions in a half-sheet pan and use heart-shaped cookie cutters after chilling. Adjusting the frosting thickness and garnish can easily tailor these for each season or celebration.
Meal Prep Tips
Make the base one or two days ahead and keep it refrigerated, then whip up the frosting the day you plan to serve for the freshest texture. Bring the frosted pan to room temperature for 15–20 minutes before slicing to prevent the frosting from cracking. Portion into single-serve boxes for lunches or events; adding a small parchment square under each piece helps prevent sticking and keeps presentation neat.
These bars have become a go-to when I need something that looks special but comes together quickly. Whether it’s a last-minute bake sale contribution or a made-ahead dessert for a family gathering, they deliver on flavor, texture and convenience — and that, more than anything, is why I always keep the ingredients on hand.
Pro Tips
Cream the butter and sugars until light and fluffy to incorporate air for a tender crumb.
Cool the bars completely before frosting to prevent the frosting from sliding.
Use a sharp knife warmed in hot water and wiped dry between cuts for clean edges.
If the frosting is too stiff, add 1 teaspoon of cream at a time until spreadable.
This nourishing red velvet cookie bars recipe is sure to be a staple in your kitchen. Enjoy every moist, high protein slice — it is perfect for breakfast or as a wholesome snack any time.
FAQs about Recipes
Can I freeze these bars?
Yes. Bake the bars without frosting, wrap tightly and freeze for up to 3 months. Thaw overnight in the refrigerator before frosting.
How do I get neat slices?
Use a sharp knife dipped in hot water and wiped dry between cuts for clean slices.
Tags
Red Velvet Cookie Bars
This Red Velvet Cookie Bars recipe makes perfectly juicy, tender, and flavorful steak every time! Serve with potatoes and a side salad for an unforgettable dinner in under 30 minutes.
Ingredients
Red Velvet Base
Cream Cheese Frosting
Instructions
Preheat and prepare pan
Preheat oven to 350°F. Lightly grease a 9x13-inch pan or line with parchment, leaving an overhang to lift bars out after cooling.
Mix dry ingredients
Whisk together the flour, cocoa powder, baking powder, baking soda and salt in a medium bowl to ensure even distribution of leaveners.
Cream butter and sugars
Beat the softened butter with granulated and brown sugar until light and airy, about 2–3 minutes, to incorporate air for structure.
Add eggs and flavorings
Beat in the egg, egg yolk, vanilla, red food coloring and vinegar until smooth and no lumps of butter remain; scrape the bowl as needed.
Combine with dry ingredients
On low speed, add the dry mixture to the butter mixture and mix until just combined, stopping when no streaks of flour remain to avoid toughness.
Press and bake
Press the dough evenly into the prepared pan (use wax paper between hands and dough if pressing). Bake 25–30 minutes until set and edges pull away.
Cool and frost
Cool completely on a rack. For frosting, beat butter and cream cheese until smooth, add powdered sugar and salt, and thin with cream if needed. Spread over cooled bars.
Last Step: Please leave a rating and comment letting us know how you liked this recipe! This helps our business to thrive and continue providing free, high-quality recipes for you.
Nutrition
Did You Make This?
Leave a comment & rating below or tag
@solushcooks on social media!
Categories:
You might also like...

Spaghetti Squash Mac & Cheese
A lighter take on a classic comfort favorite that swaps pasta for roasted spaghetti squash and keeps all the creamy, cheesy goodness with optional broccoli or chicken for extra heartiness.

Coconut Cream Pie Overnight Oats
A dreamy no-cook breakfast that tastes like coconut cream pie — creamy coconut milk, tangy Greek yogurt, shredded coconut, and optional banana make mornings feel indulgent and effortless.

Roasted Sweet Potato Rounds with Honey & Feta
Crisp-edged sweet potato rounds roasted until tender, finished with salty feta, a drizzle of honey, and fresh parsley—an effortless crowd-pleaser for gatherings or weeknights.
Did You Make This?
Leave a comment & rating below or tag @solushcooks on social media!
Rate This Recipe
Share This Recipe
Enjoyed this recipe? Share it with friends and family, and don't forget to leave a review!
Comments (1)
This recipe looks amazing! Can't wait to try it.
Comments are stored locally in your browser. Server comments are displayed alongside your local comments.

Hi, I'm Lena!
What's Popular

30-Minute Meals!
Join to receive our email series which contains a round-up of some of our quick and easy family favorite recipes.