
No-Bake Snowman Truffles

Cute, no-bake snowman truffles coated in dairy-free white chocolate — an easy, festive treat for parties and holiday baking with minimal fuss.
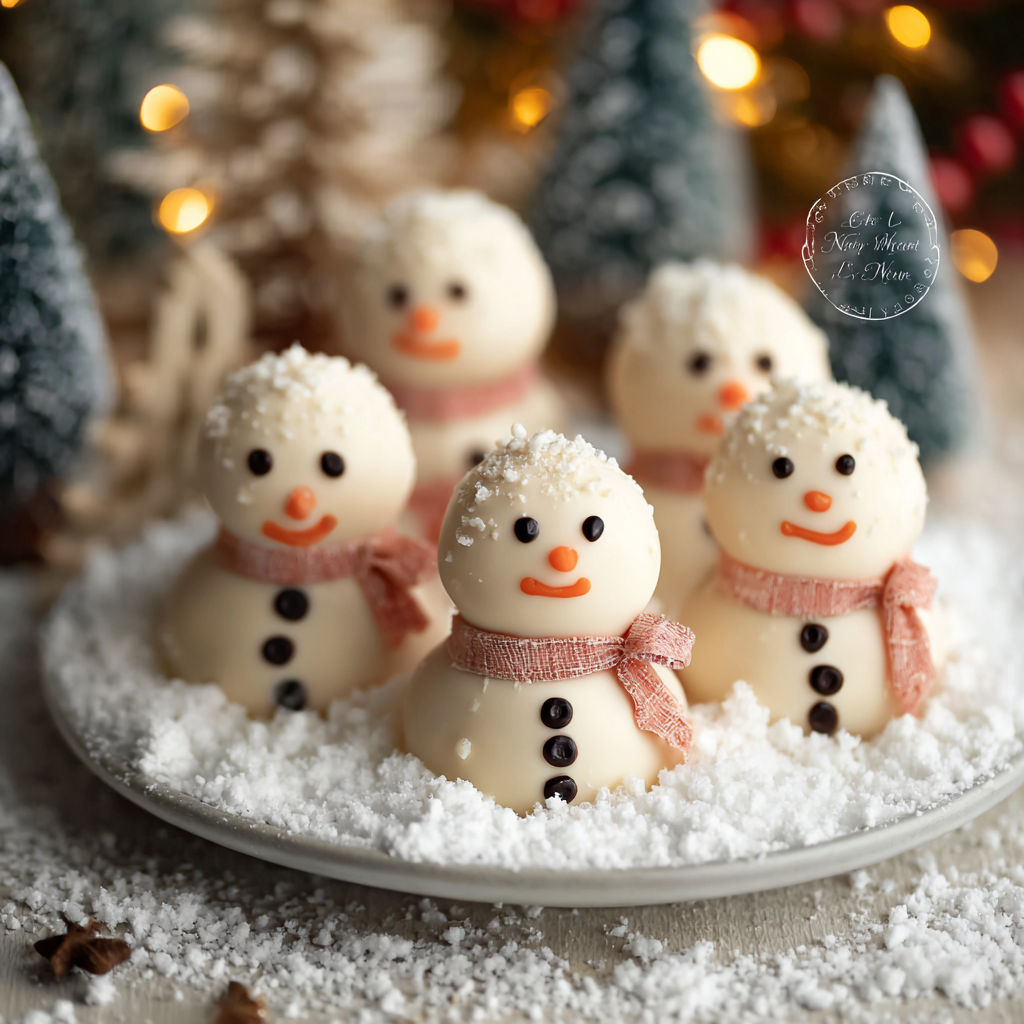
This cheerful no-bake snowman truffle recipe has been a holiday favorite in my kitchen since I first tested it during a last-minute cookie swap. I wanted something that looked impressive on a dessert table but was simple enough for kids to help make, and these tiny snowmen fit the brief perfectly. They’re creamy from dairy-free cream cheese, slightly crunchy from crushed golden sandwich cookies, and then cloaked in a glossy white coating that instantly turns them into whimsical little characters with just a few piped details. I discovered the proportion that makes the centers hold together on a rainy afternoon when my oven refused to cooperate — the freezer and a quick chocolate dip saved the day.
What makes these truffles special is the combination of textures and the ease of assembly: a soft, sweet center that holds its shape, a crisp white shell that sets almost instantly when chilled, and playful decorations that transform a simple bite into a festive moment. I often make a double batch for parties, and family members always comment on how nostalgic they look — they remind my niece of marshmallow snowmen from holiday cartoons. Because the recipe uses dairy-free ingredients, it’s friendly for guests avoiding dairy, and with a GF cookie swap it’s easy to adapt for gluten-free diets too.
Why You'll Love This Recipe
- Quick assembly and no oven required — perfect for last-minute party treats or when the holiday baking list is already full.
- Uses pantry-friendly ingredients like sandwich cookies, dairy-free cream cheese, and white coating — most items are easy to source at local supermarkets.
- Kid-friendly decorating: simple piping for eyes and carrot nose plus candy scarves — a fun hands-on activity for little helpers.
- Freezable and portable — the coated truffles set quickly in the freezer and travel well to potlucks or gatherings.
- Customizable: swap regular cookies for gluten-free biscuits or choose vegan white chocolate to suit dietary needs.
- Make-ahead friendly — centers can be prepared a day ahead and coated just before serving for the freshest look.
In my experience, the first time I served these at a winter brunch everyone asked for the recipe; kids loved the tiny size and adults appreciated the refined white chocolate coating. Making them with friends turns the process into an assembly-line craft session: one person forms balls, another melts chocolate, and someone else decorates — it's social cooking at its best.
Ingredients
- Golden sandwich cookies: Use 5 1/4 ounces (about 1 1/3 cups) of Golden Oreo-style cookies or plain vanilla sandwich biscuits. Choose a brand you like for the sweetness level; for gluten-free guests use a certified gluten-free vanilla sandwich cookie.
- Dairy-free cream cheese: 1/4 cup (4 tablespoons) of vegan or dairy-free cream cheese. Brands like Kite Hill or Violife have a firm, creamy texture that helps the mixture bind without becoming greasy.
- Dairy-free white chocolate: 7 ounces (about 1 1/4 cups) of vegan white chocolate or candy melts. Choose a high-quality vegan coating for a glossy finish and a clean snap when set.
- Black food gel: a small amount in a squeeze bottle or tube for eyes, mouth and buttons — gel stays glossy and holds its shape better than liquid food coloring.
- Orange food gel: a small tube to pipe tiny carrot noses — concentrated color means very little is needed.
- Strawberry laces or candy pencils: thin pieces for scarves; cut to length to wrap around the neck. If you prefer, use fruit leather strips for a less sweet option.
- Optional: toothpicks or small skewers for dipping and a little leftover melted coating to glue scarves in place.
Instructions
Prepare the workspace: Line a baking tray with parchment paper and clear a space in the freezer. Have small bowls ready for melted coating and piping, and measure out your cookie crumbs and cream cheese before starting — organization keeps the mixture from overworking. Make the cookie base: Place the cookies in a food processor and pulse until you have fine crumbs. If you don’t have a processor, place cookies in a sturdy zip bag and crush with a rolling pin until crumb-like. Transfer the crumbs to a large bowl and add the dairy-free cream cheese. Mix with a spatula until the crumbs are evenly moistened and the mixture holds together when squeezed; it should be sticky but not wet. Shape the bodies: With clean hands, portion the mixture into two sizes: make the larger base balls about 3/4 ounce each (roughly 1 1/2 tablespoons) and the smaller head balls about 1/4 ounce each (roughly 3/4 teaspoon). Press the small ball gently onto the larger ball to form a snowman shape. Place each finished snowman on the prepared tray and freeze for about 20 minutes, or until firm to the touch. Melt the coating: About five minutes before you’ll dip, melt the white coating using a double boiler (bain-marie): place chopped coating or melts in a heatproof bowl set over gently simmering water and stir until glossy. You can also melt in 20-second bursts in a microwave, stirring between bursts to prevent scorching. Coat the snowmen: Remove the chilled snowmen from the freezer. Either insert a toothpick into the bottom of a snowman to hold it while you dip, or balance it on a fork and spoon the coating over to cover. Allow excess coating to drip back into the bowl and return each coated snowman to the parchment-lined tray. The cold centers will cause the coating to set quickly — a short 5–10 minute return to the freezer will harden the shell. Decorate and finish: Color small amounts of extra coating black and orange using gel or oil-based color, or use black and orange gel piping colors. Transfer each color into small piping bags (or a sandwich bag with a tiny snip). Pipe a small orange triangle for the carrot nose, then add black dots for the eyes, a dotted smile, and buttons. Wrap a cut strawberry lace around the neck as a scarf and secure with a dab of melted coating if needed. Chill for another 5 minutes to set decorations, then serve.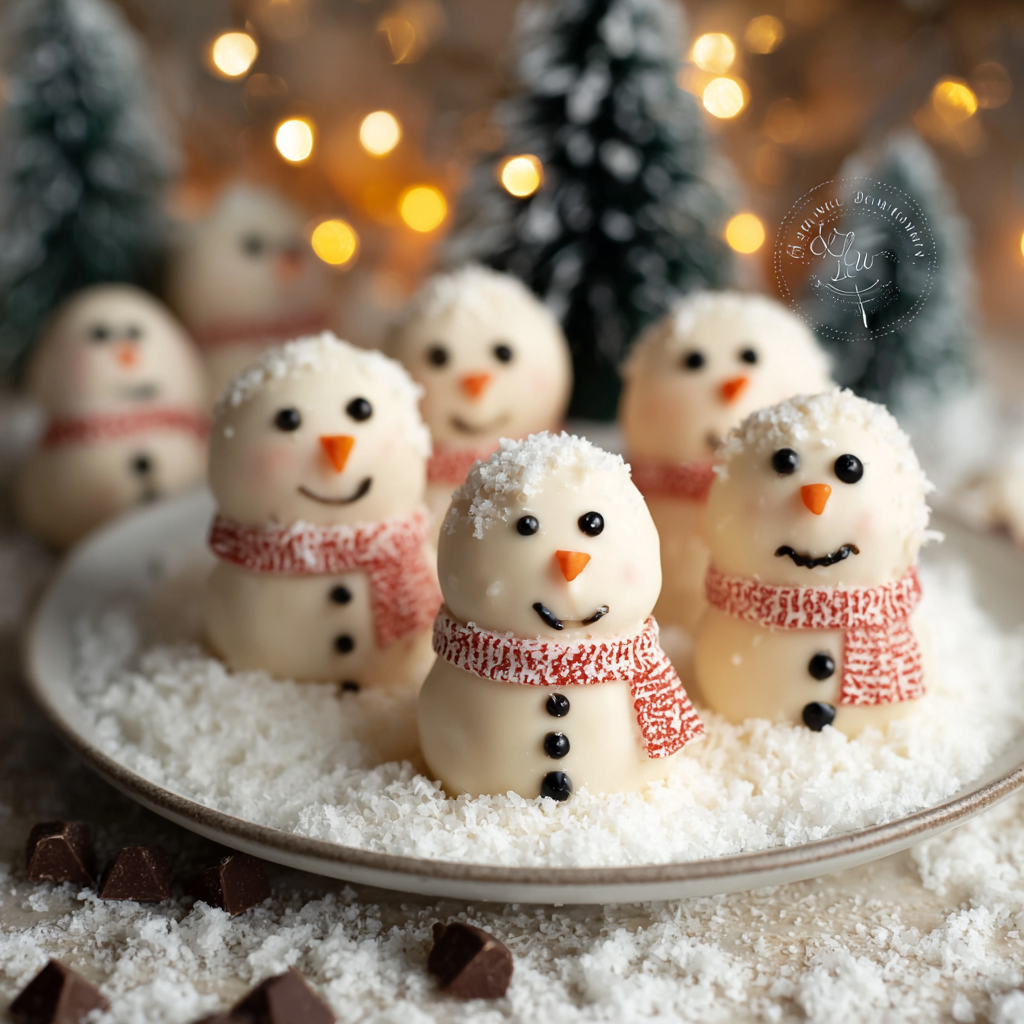
You Must Know
- These treats freeze beautifully for up to 3 months when stored airtight — thaw in the refrigerator for 30 minutes before serving.
- Because the centers are chilled, the white coating sets almost instantly, so work in batches to avoid clumping or grey streaks.
- To keep colors vibrant, use gel food colorings formulated for chocolate or candy; water-based colors may seize the coating.
- The candy scarf and piped details are best added after the main coating sets to avoid smearing and to preserve definition.
- Calories vary by size and coating; making the recommended sizes yields portion-controlled bites that are easier to plate for parties.
What I love most is the immediate delight they inspire — the tiny faces and bright scarves always spark compliments. One year I made a platter for my office holiday party and coworkers couldn’t stop photographing them. The simplicity of assembly makes these ideal for baking days with friends, where everyone decorates a handful and takes the rest home.
Storage Tips
Store finished truffles in a single layer in an airtight container between sheets of parchment to prevent sticking. Refrigeration keeps them firm for up to 7 days; for longer storage pop them into the freezer where they keep for up to 3 months. When transporting, keep them chilled in a cooler bag or insulated box to prevent condensation. To re-crisp the coating after refrigeration, allow truffles to sit at room temperature for 10–15 minutes before serving so flavors bloom without melting the coating.
Ingredient Substitutions
If you need gluten-free, replace the sandwich cookies with a certified gluten-free vanilla sandwich cookie and proceed the same way. For strict vegan needs, verify the white chocolate is vegan and that the candy laces contain no gelatin. If you prefer a less sweet filling, reduce the cookie-to-cream-cheese ratio slightly and add a teaspoon of cocoa powder to balance sweetness. For a nutty twist, stir in 1 tablespoon of finely ground toasted almonds into the crumb mix for depth.
Serving Suggestions
Arrange the truffles on a platter lined with evergreen sprigs or edible gold dust for a festive centerpiece. They pair beautifully with spiced tea, hot chocolate, or a light coffee. For a kid-friendly dessert station, set out extra piping bags, sprinkles, and different colored laces so guests can personalize scarves. These also make charming edible gifts—place a few in a cellophane bag, tie with ribbon, and attach a handwritten tag.
Cultural Background
Decorated confectionery figures have a long place in winter holiday traditions across many cultures, from molded marzipan to iced gingerbread. The snowman motif is a modern, playful take on edible ornamentation that leans into nostalgic winter imagery. These truffles borrow the concept of shaped chocolate confections common in European patisserie but simplify the technique so home cooks without tempering experience can still achieve an attractive glossy finish.
Seasonal Adaptations
For spring or summer parties, swap the snowman theme for bunny or bird shapes using pastel piping colors and fruit leather scarves. Around Halloween, switch to orange-tinted coating and use licorice ropes for scarves while piping spooky faces. The basic no-bake center is a versatile canvas — swap the white coating for dark or milk-style dairy-free chocolate and change decorations to match the season or event.
Meal Prep Tips
Make the centers up to 48 hours ahead and store them frozen on a tray in a single layer, then transfer to a container. When ready to serve, melt the coating and dip straight from frozen — this shortens assembly time and ensures minimal mess. For larger batches, set up an assembly line: one person shapes, another freezes, a third coats, and a final decorator adds features. This workflow reduces mistakes and speeds production for parties.
These snowman truffles are a delightful balance of simplicity and charm—perfect for sharing, gifting, and adding a handmade touch to holiday gatherings. Gather a few friends, put on some music, and enjoy the smiles that follow when the first decorated snowman is revealed.
Pro Tips
Work in small batches when dipping so the melted coating stays glossy and doesn’t thicken.
Chill shaped centers first — very cold centers help the coating set quickly and prevent bleeding of colors.
Use a toothpick inserted into the base while dipping to reduce fingerprints and get a smoother finish.
If coating thickens, gently rewarm it in short bursts and stir to maintain a shiny texture.
This nourishing no-bake snowman truffles recipe is sure to be a staple in your kitchen. Enjoy every moist, high protein slice — it is perfect for breakfast or as a wholesome snack any time.
FAQs about Recipes
Can I make the centers ahead of time?
Yes — the centers can be made and frozen up to 3 months in an airtight container. Coat and decorate from frozen, then chill briefly before serving.
What coloring should I use for the white coating?
Use gel food color or oil-based color for chocolate. Water-based colors can seize or thin coatings.
Tags
No-Bake Snowman Truffles
This No-Bake Snowman Truffles recipe makes perfectly juicy, tender, and flavorful steak every time! Serve with potatoes and a side salad for an unforgettable dinner in under 30 minutes.
Instructions
Prepare and line
Line a tray with parchment paper and set up workspace. Measure ingredients and ready piping bags for decoration.
Crush cookies and mix
Place cookies in a food processor and pulse to fine crumbs. Combine crumbs with dairy-free cream cheese and mix until the mixture holds together when pressed.
Shape snowmen
Form larger base balls about 3/4 ounce each and smaller head balls about 1/4 ounce. Press the head onto the base and freeze 20 minutes until firm.
Melt coating
Melt dairy-free white chocolate in a bain-marie or microwave until glossy and smooth, stirring frequently to avoid overheating.
Coat and set
Dip chilled snowmen into the melted coating using a toothpick or fork, let excess drip, and return to the tray. Freeze 5–10 minutes to set.
Decorate
Color extra coating black and orange or use food gel in piping bags. Pipe carrot nose, eyes, mouth and buttons, add a candy scarf, and chill briefly to set.
Last Step: Please leave a rating and comment letting us know how you liked this recipe! This helps our business to thrive and continue providing free, high-quality recipes for you.
Nutrition
Did You Make This?
Leave a comment & rating below or tag
@solushcooks on social media!
Categories:
You might also like...
Spaghetti Squash Mac & Cheese
A lighter take on a classic comfort favorite that swaps pasta for roasted spaghetti squash and keeps all the creamy, cheesy goodness with optional broccoli or chicken for extra heartiness.
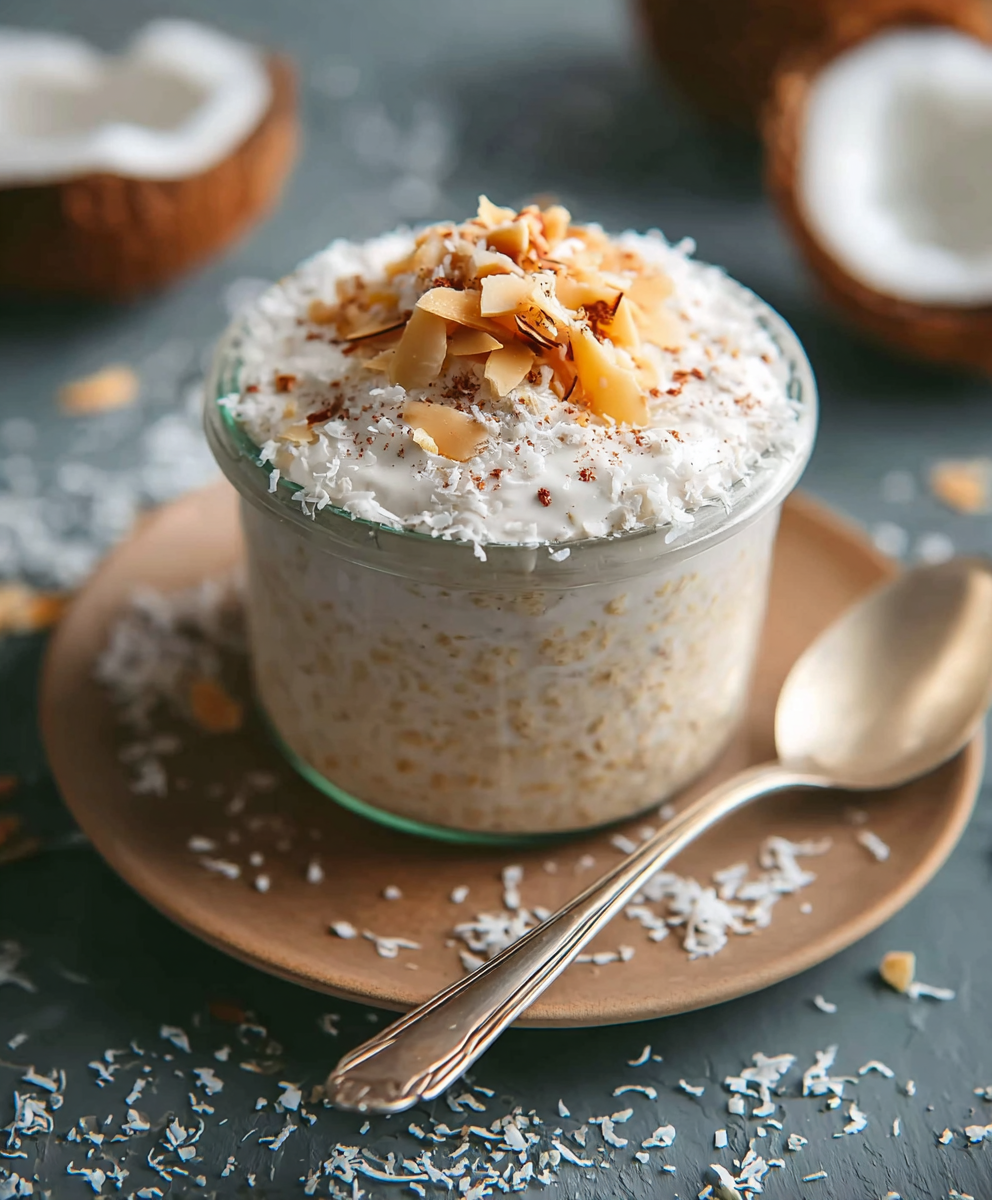
Coconut Cream Pie Overnight Oats
A dreamy no-cook breakfast that tastes like coconut cream pie — creamy coconut milk, tangy Greek yogurt, shredded coconut, and optional banana make mornings feel indulgent and effortless.
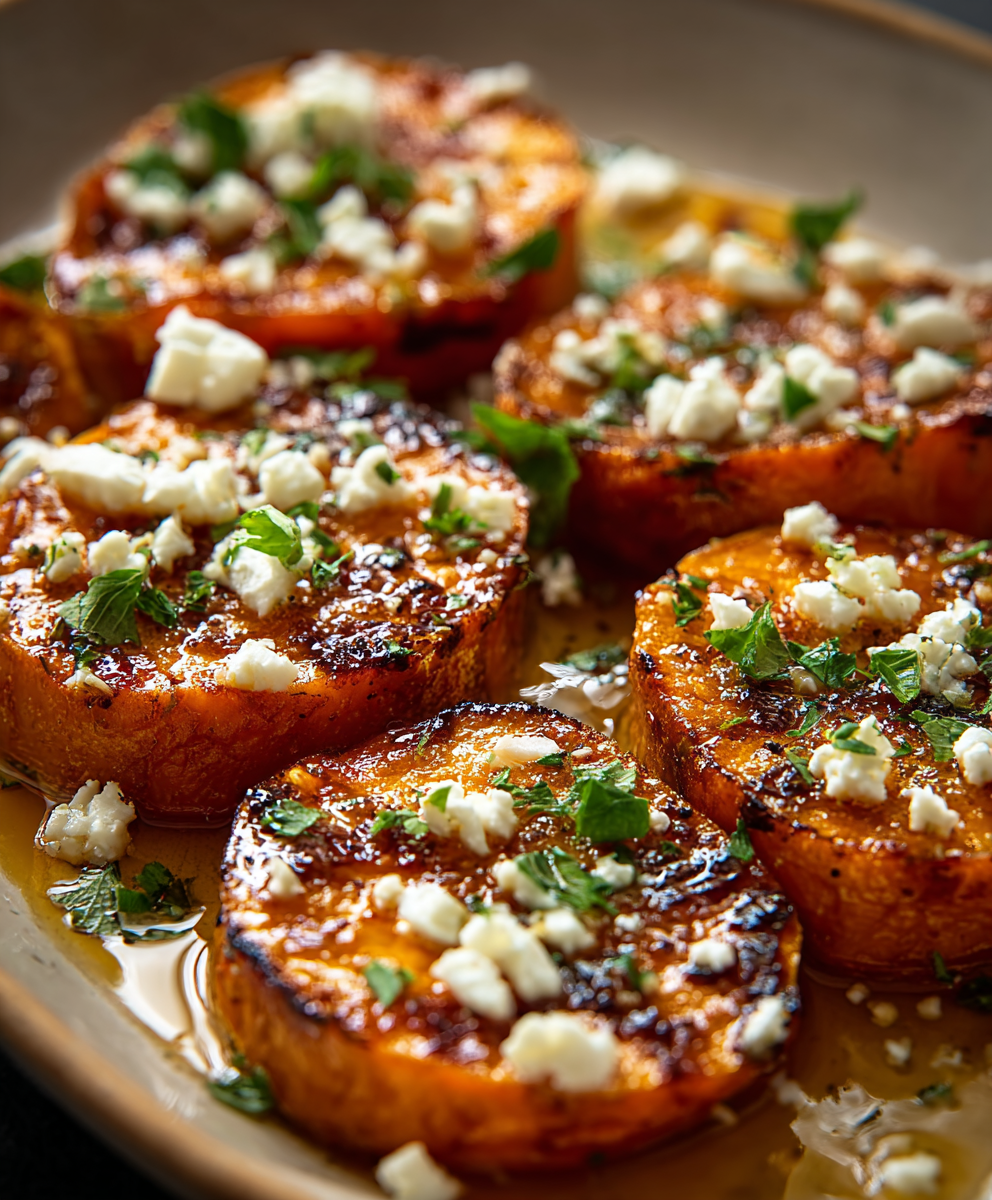
Roasted Sweet Potato Rounds with Honey & Feta
Crisp-edged sweet potato rounds roasted until tender, finished with salty feta, a drizzle of honey, and fresh parsley—an effortless crowd-pleaser for gatherings or weeknights.
Did You Make This?
Leave a comment & rating below or tag @solushcooks on social media!
Rate This Recipe
Share This Recipe
Enjoyed this recipe? Share it with friends and family, and don't forget to leave a review!
Comments (1)
This recipe looks amazing! Can't wait to try it.
Comments are stored locally in your browser. Server comments are displayed alongside your local comments.

Hi, I'm Lena!
What's Popular
30-Minute Meals!
Join to receive our email series which contains a round-up of some of our quick and easy family favorite recipes.