
>>

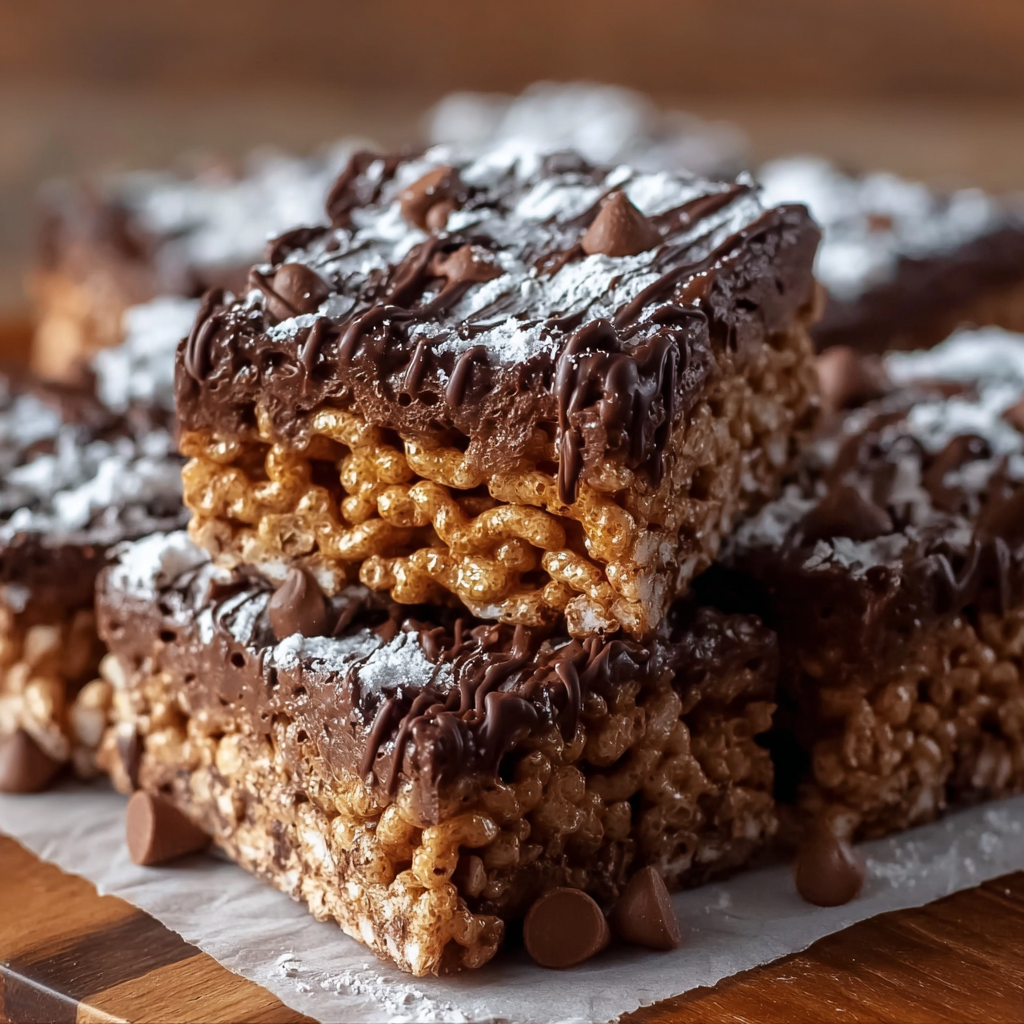
A playful twist on the classic Muddy Buddies using Rice Krispies for extra crunch—sweet, salty, and impossibly easy to make for parties, snacks, and lunchboxes.
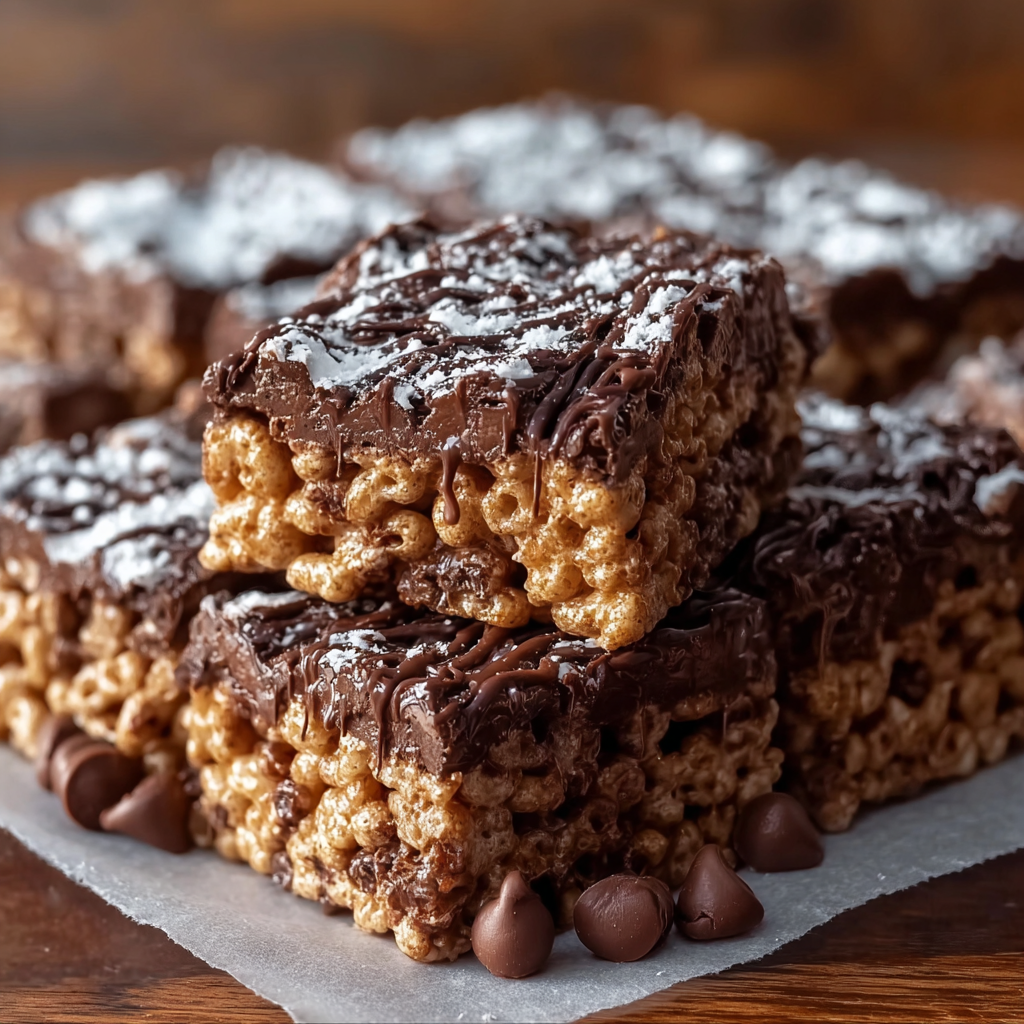
This version of muddy buddies has been a weekend favorite at our house for years. I first swapped in Rice Krispies during a rainy Saturday when pantry staples were all I had: cereal, chocolate, peanut butter, butter, and powdered sugar. The texture surprised me—those little crispy rice bits add a delicate snap that contrasts beautifully with the creamy chocolate-peanut coating. I served it to a noisy group of teenagers and adults at a casual backyard movie night, and the bowl emptied within minutes. The treat is sweet but balanced by peanut butter saltiness, and the powdered sugar gives it that nostalgic, snowy finish.
What makes this riff special is its simplicity and the way it keeps its crunch even after sitting in a container for a day. It’s quick enough for a last-minute party platter, forgiving for beginner cooks, and adaptable when you want to jazz it up with mix-ins or swap ingredients for dietary needs. I love it for after-school snacks and take-to-work treats because it packs well and tastes just as good the next day. Whenever I make a double batch, neighbors mysteriously appear with empty hands and big smiles.
When I first introduced this to my extended family, my aunt insisted it tasted like a childhood snack she remembered but better—lighter and crunchier. We discovered that chilling the coated cereal briefly before shaking in powdered sugar prevents clumping and gives the mixture a nicer, more even coating. That tweak became my go-to technique after trial runs on different coating temperatures.

My favorite part of this treat is how adaptable it is. For a holiday batch I increased the powdered sugar and added crushed peppermint; for a summer picnic I mixed in dried strawberries for color. Family members always comment on the light crunch the Rice Krispies add, which keeps the snack feeling less dense than some classic versions made with Chex. It’s a reliable, nostalgic dessert that invites experimentation.
Store the mixture in an airtight container at room temperature for up to five days to maintain optimal crunch. Use a wide, shallow container to avoid compressing the cereal; layering with parchment paper prevents pieces from sticking together. For longer storage, freeze in a tightly sealed container for up to three months, then thaw at room temperature for 30 minutes before serving. Avoid refrigeration for long periods because moisture can soften the crisp rice texture. If you notice slight stickiness, spread the mixture on a tray and air it for 10 minutes to refresh the crunch.
To make this dairy-free, substitute dairy-free chocolate chips and use a vegan butter or coconut oil in place of butter. For a nut-free version, swap peanut butter for sunflower seed butter or soy nut butter—expect a slightly different flavor and a touch of greasiness that you can balance by reducing the oil content. If you want less sugar, reduce the powdered sugar to a light dusting or skip it entirely and drizzle melted dark chocolate instead. Using crunchy peanut butter will change mouthfeel and may require a touch more butter to keep the coating smooth.
Serve in small bowls for casual gatherings, packaged into cellophane bags with a ribbon for gifts, or pile onto a large platter for parties. Garnish with a sprinkle of sea salt or a few extra whole peanuts for visual contrast. Pair with fresh fruit to balance sweetness, or serve alongside coffee or milk for a kid-friendly snack. For a festive table, mix in red and green M&M’s or chopped peppermint candy. The mixture also works well as a crumble topping for ice cream or yogurt.
Switch the chocolate type and add-ins to match the season: use white chocolate and freeze-dried raspberries in spring, dark chocolate and sea salt in autumn, or melted butterscotch and chopped pecans in winter. For holiday parties, fold in holiday-colored candy pieces and a pinch of cinnamon for warmth. In warmer months, chill the coated cereal briefly before shaking with powdered sugar to prevent the coating from becoming tacky in hot weather. These small changes keep the base technique the same while creating a fresh seasonal vibe.
At a neighborhood block party last summer, I made three batches—plain, peanut-butter-forward, and chocolate-heavy—and watched how people gravitated toward different versions. One friend said the Rice Krispies made it feel less cloying than Chex-party mixes she’d had before, and a neighbor asked for the recipe on the spot. The treat has also become my go-to for school bake sales because the easy portioning and portability sell quickly. I’ve had parents tell me their kids begged for the homemade version the next week, which is about the best compliment I can receive.
For meal prep, make the mixture and portion it into single-serving bags or small airtight containers. Label and date them so you can rotate through a five-day snack plan. If making ahead for a week-long event, store the bulk portion in a wide container lined with parchment and refill small containers daily to keep the snack looking fresh. When reheating to refresh crispness, place portions in a 250°F oven for 3 to 4 minutes on a baking sheet, then cool before serving to avoid melting the powdered sugar finish.
Whether you make it for a spontaneous movie night or an organized bake sale, this Rice Krispies take on the classic dusty mix is forgiving, portable, and endlessly customizable. Make a batch and don’t be surprised if friends start asking when you’ll make it again.
Allow the coated cereal to cool slightly before adding powdered sugar to prevent clumping and a wet finish.
Use a large resealable bag to shake small batches for the most even powdered sugar coating.
Choose semi-sweet chocolate chips for balanced sweetness; milk chocolate will be sweeter and darker chocolate will be more intense.
This nourishing muddy buddy rice krispies recipe is sure to be a staple in your kitchen. Enjoy every moist, high protein slice — it is perfect for breakfast or as a wholesome snack any time.
This Muddy Buddy Rice Krispies recipe makes perfectly juicy, tender, and flavorful steak every time! Serve with potatoes and a side salad for an unforgettable dinner in under 30 minutes.
Measure 6 cups of Rice Krispies into a large bowl and line a baking sheet with parchment. Keep a resealable bag ready for coating batches.
Combine 2 cups chocolate chips, 1/2 cup creamy peanut butter, and 1/4 cup unsalted butter in a saucepan over low heat or microwave in 30-second bursts, stirring until smooth. Remove from heat and stir in 1 teaspoon vanilla.
Pour the warm chocolate-peanut mixture over the cereal and fold gently with a spatula until most pieces are coated but not saturated.
Spread the coated cereal on the prepared baking sheet into an even layer. Let it cool 3 to 5 minutes until tacky but not wet to the touch.
Place small batches into a large resealable bag, add powdered sugar (about 1/2 cup per batch for light dusting or more for heavier coating), seal, and shake until evenly coated. Spread back on the tray to set.
Once cooled, store in an airtight container at room temperature for up to five days. Refresh crispness by airing on a tray for 10 minutes if needed.
Last Step: Please leave a rating and comment letting us know how you liked this recipe! This helps our business to thrive and continue providing free, high-quality recipes for you.
Leave a comment & rating below or tag
@solushcooks on social media!

A lighter take on a classic comfort favorite that swaps pasta for roasted spaghetti squash and keeps all the creamy, cheesy goodness with optional broccoli or chicken for extra heartiness.

A dreamy no-cook breakfast that tastes like coconut cream pie — creamy coconut milk, tangy Greek yogurt, shredded coconut, and optional banana make mornings feel indulgent and effortless.

Crisp-edged sweet potato rounds roasted until tender, finished with salty feta, a drizzle of honey, and fresh parsley—an effortless crowd-pleaser for gatherings or weeknights.
Leave a comment & rating below or tag @solushcooks on social media!
Enjoyed this recipe? Share it with friends and family, and don't forget to leave a review!
This recipe looks amazing! Can't wait to try it.
Comments are stored locally in your browser. Server comments are displayed alongside your local comments.

Join to receive our email series which contains a round-up of some of our quick and easy family favorite recipes.
