
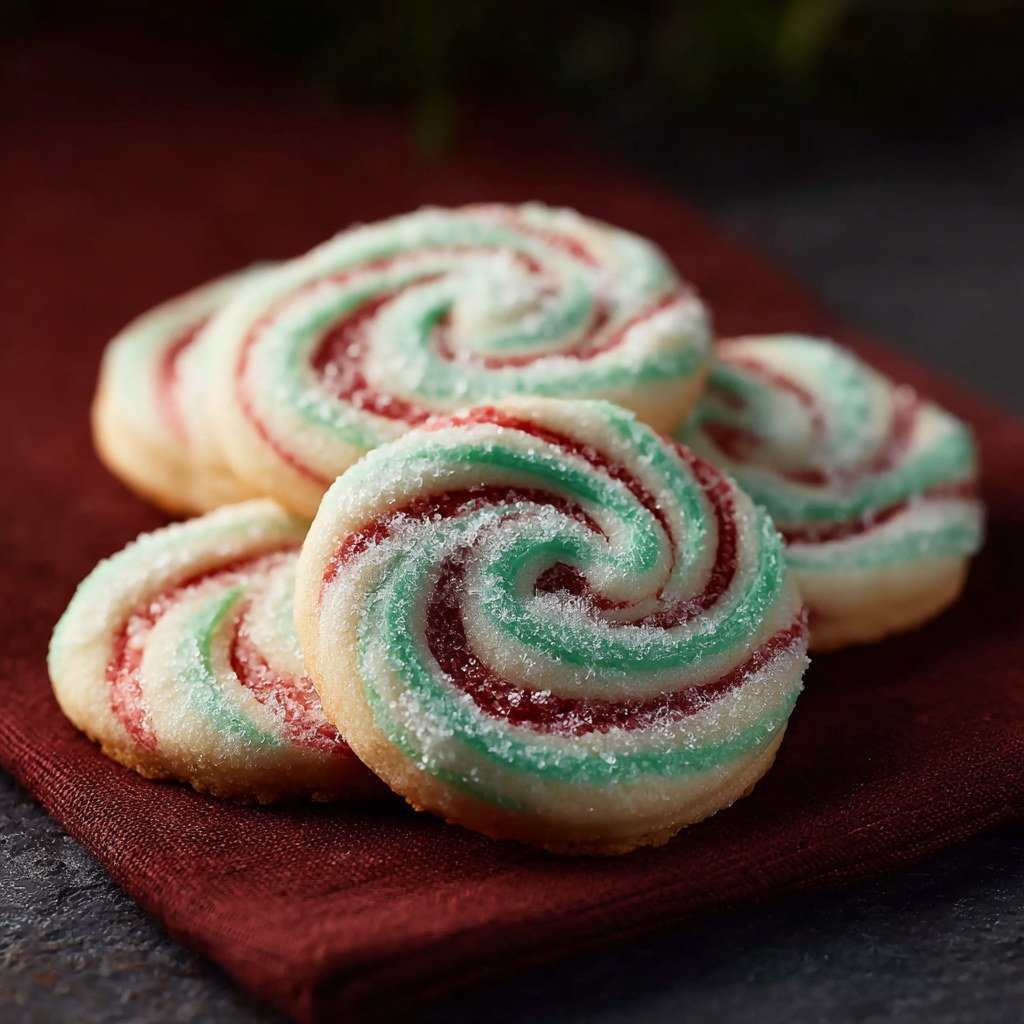
Mint Swirl Cookies

Buttery sugar cookies with a festive mint swirl and a crunchy peppermint coating. Perfect for holidays, parties, or a cozy afternoon treat.

This lively mint swirl cookies are a family favorite that first came together one quiet December when I wanted something festive but simple enough to make with a mug of hot chocolate and the radio playing in the background. The dough is rich and tender, the peppermint extract adds a bright clean note, and the thin red swirl makes each cookie feel celebratory. I discovered the combination by accident when I was trying to make classic pinwheel cookies but wanted an easier rolling method without sacrificing the dramatic look.
What makes these especially memorable is the contrast of textures. The center is soft and almost shortbread like from two sticks of butter while the outer coating of coarse sugar or crushed peppermint gives a gentle crunch. When guests bite in they say the mint is noticeable but not overpowering, and the cookie keeps its shape well which makes it great for packaging as gifts. I usually make a double batch for gift tins and keep a tray for late night nibbling.
Why You'll Love This Recipe
- Ready in under an hour from start to finish, including a short chilling period, so it fits into busy holiday prep or last minute party baking.
- Uses pantry staples such as all purpose flour, granulated sugar and standard baking powder, with peppermint extract adding a seasonal twist.
- Simple techniques produce an eye catching swirl without advanced rolling skills the dough is shaped and rolled rather than laminated, so it is forgiving.
- Make ahead friendly you can refrigerate or freeze the dough slices and bake later for fresh warm cookies on demand.
- Customizable coating options either coarse sugar for a classic sparkle or crushed peppermint candies for a punchier mint and extra texture.
- Kid friendly a great project for older children to help color, shape and roll, creating instant holiday memories.
In my kitchen these are a crowd pleaser. My sister always requests the peppermint version over plain sugar cookies and my neighbor once brought a jar to a winter potluck where they disappeared within an hour. The recipe is a small ritual now that marks the start of the holiday baking season for me.
Ingredients
- All purpose flour: 2 and 1/2 cups is the base for structure. Use a spoon and level method when measuring for accurate texture. King Arthur and Gold Medal both work well.
- Baking powder: 1 teaspoon provides gentle lift so the cookies stay tender rather than flat.
- Salt: 1/2 teaspoon balances the sweetness and enhances the butter flavor. Use fine sea salt or kosher salt adjusted by volume if needed.
- Unsalted butter: 1 cup or 2 sticks, softened to room temperature. Real butter gives the best flavor stick with unsalted so you control seasoning.
- Granulated sugar: 1 cup for sweetness and light crisping at the edges. Caster sugar yields an even finer crumb if you have it.
- Large egg: 1 egg binds and adds a little moisture for a tender interior. Use a cold egg if your kitchen is warm to avoid over softening the dough.
- Vanilla extract: 1 teaspoon for depth and warmth to complement the peppermint.
- Peppermint extract: 1 teaspoon strong and clean this is the defining flavor so do not skimp but taste cautiously if using concentrated extracts.
- Red gel food coloring: a few drops until you reach a vivid red. Gel is preferred because liquid coloring alters dough hydration.
- Coating: 1/4 cup coarse sugar or crushed peppermint candies for rolling the slices before baking to add sparkle and crunch.
Instructions
Combine dry ingredientsIn a medium bowl whisk together 2 and a half cups all purpose flour, 1 teaspoon baking powder and 1/2 teaspoon salt until evenly distributed. This ensures even leavening and prevents pockets of baking powder in the dough.Cream butter and sugarIn a large bowl using a hand mixer or stand mixer fitted with the paddle attachment cream 1 cup unsalted butter and 1 cup granulated sugar on medium speed for about 2 to 3 minutes until pale and fluffy. Scrape the bowl once so the mixture is uniformly aerated which contributes to a tender crumb.Add egg and extractsBeat in 1 large egg, 1 teaspoon vanilla extract and 1 teaspoon peppermint extract until combined. The egg provides structure and the extracts add aromatic layers; stop mixing as soon as it comes together to avoid overworking the dough.Incorporate flourWith the mixer on low add the flour mixture in two additions mixing just until there are no dry streaks. Over mixing develops gluten and will make the cookies tough so keep the motion gentle and brief.Divide and colorTurn the dough out onto a lightly floured surface and divide into two portions roughly equal. Leave one portion plain. To the second portion knead in red gel food coloring a few drops at a time until you reach a vibrant red. Wear gloves if you wish to avoid staining hands.Form layers and rollRoll each portion into a rectangle approximately 9 by 7 inches with even thickness. Place the red rectangle on top of the plain one and gently press together. Starting at the short edge roll into a tight log. The tighter the roll the more defined the swirl will be. Wrap in plastic and chill for at least 30 minutes to firm the dough which makes slicing cleaner.Slice, coat and bakePreheat the oven to 350 degrees Fahrenheit. Remove the log from the refrigerator and slice into 1/4 inch to 1/3 inch rounds. Roll each disc in 1/4 cup coarse sugar or crushed peppermint candies and arrange on a baking sheet lined with parchment leaving about 2 inches between cookies. Bake for 10 to 12 minutes until edges are set and centers are still slightly soft. Rotate the pan halfway if your oven has hot spots.Cool and storeAllow cookies to cool on the baking sheet for 5 minutes before transferring to a wire rack to cool completely. Store in an airtight container at room temperature for up to five days or freeze for up to three months. Reheat briefly to refresh crispness.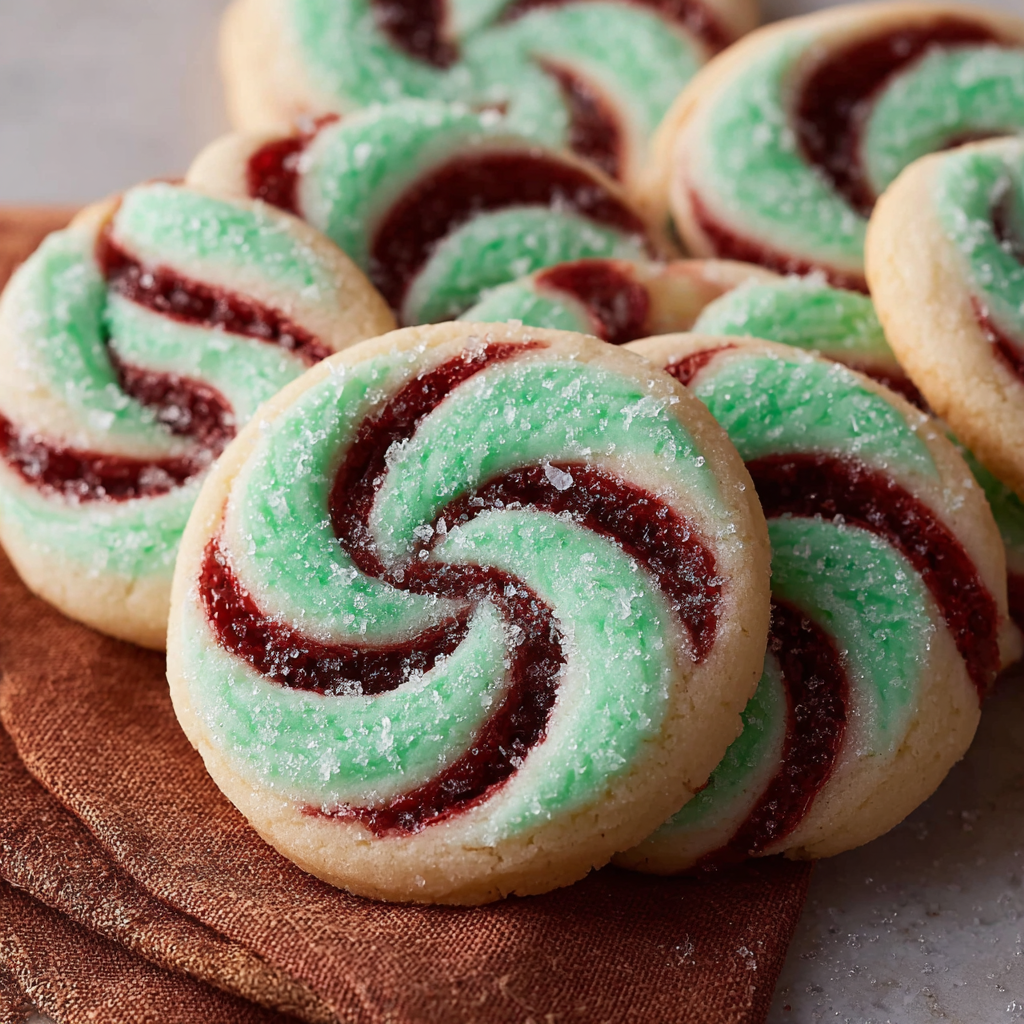
You Must Know
- This recipe stores well in the freezer slice the chilled log into rounds and freeze on a tray then transfer to bags for up to three months.
- High in fat from butter which yields rich flavor and tender texture so servings are small about one or two cookies per person is satisfying.
- Contains gluten dairy and eggs not suitable for vegan or gluten free diets unless ingredients are substituted accordingly.
- Coating adds extra sweetness use crushed peppermint if you want stronger mint and a crunchier finish.
My favorite part is the unwrapping of the chilled log and the first slice when the swirl is revealed. At a cookie swap a neighbor commented that the texture reminded her of old fashioned bakery slices yet these took far less time and the peppermint twist made them stand out on the table. They bring back the kind of cozy kitchen moments I love sharing with friends and family.
Storage Tips
Store cooled cookies in an airtight container layered with parchment to prevent sticking at room temperature for up to five days. For longer storage freeze baked cookies in a single layer on a tray, then move to a freezer safe container for up to three months. If freezing dough slices place them on a tray until firm then bag. To refresh a slightly soft cookie warm in a 300 degree Fahrenheit oven for three to four minutes to restore a light crisp on the edges.
Ingredient Substitutions
To make these dairy free use a vegan stick style butter substitute in place of unsalted butter and a flax egg instead of the large egg though texture will be slightly different. For a gluten free version swap in a one to one gluten free flour blend and chill the dough longer to help it firm. If peppermint extract is too intense try half peppermint and half spearmint or substitute finely crushed candy canes for the coating only for a milder interior mint flavor.
Serving Suggestions
Serve on a festive platter with sprigs of fresh mint or alongside hot chocolate or coffee. They work well in cookie assortments and gift tins. For adults serve with mint liqueur or after dinner coffee. For a kid friendly presentation stack with wax paper layers in mason jars tied with twine.
Cultural Background
Pinwheel cookies and swirl designs have roots in European rolled cookie traditions where contrasting doughs are layered to create visual appeal. The peppermint flavor is a winter holiday staple in North America and these combine the nostalgic swirl with modern convenience making them a seasonal classic in many households.
Seasonal Adaptations
Replace red gel with green for a St Patrick celebration or use a natural beet powder for a softer pink. During summer swap peppermint extract for lemon extract and add lemon zest for a bright summer swirl. For Valentine themed cookies add a small heart shaped sprinkle at the center after baking while cookies are still warm so it adheres.
Meal Prep Tips
Make the dough up to two days ahead and keep chilled until ready to slice and bake. For quick entertaining freeze pre sliced rounds on a tray then transfer to a labeled bag. On the day of your event place frozen slices on a baking sheet and add two to three minutes to baking time. Label containers with baking time and temperature if sharing with others.
These cookies are a joyful and adaptable addition to any baking rotation. They are simple enough for weekday baking yet special enough for gifts and gatherings. Make them your own by adjusting the coating or color and enjoy the process as much as the outcome.
Pro Tips
Chill the rolled log at least 30 minutes for cleaner slices and a better defined swirl.
Use gel food coloring to avoid altering dough hydration and to get a vivid red.
Measure flour by spooning into the cup and leveling to prevent dense dough.
Freeze pre sliced rounds on a tray before bagging to keep them from sticking together.
If peppermint extract seems strong start with half a teaspoon then add up to one teaspoon to taste.
This nourishing mint swirl cookies recipe is sure to be a staple in your kitchen. Enjoy every moist, high protein slice — it is perfect for breakfast or as a wholesome snack any time.
Tags
Mint Swirl Cookies
This Mint Swirl Cookies recipe makes perfectly juicy, tender, and flavorful steak every time! Serve with potatoes and a side salad for an unforgettable dinner in under 30 minutes.
Instructions
Combine dry ingredients
Whisk together flour baking powder and salt in a medium bowl until evenly distributed.
Cream butter and sugar
Cream softened butter and granulated sugar until pale and fluffy about 2 to 3 minutes. Scrape bowl as needed.
Add egg and extracts
Beat in the egg vanilla and peppermint extract until combined taking care not to overmix.
Incorporate flour
Add the dry ingredients in two additions on low speed mixing until no dry streaks remain.
Divide and color
Divide dough into two equal pieces. Color one portion with red gel until evenly tinted.
Form layers and roll
Roll each portion into an even rectangle stack the red on the plain and roll into a tight log then wrap and chill at least 30 minutes.
Slice coat and bake
Preheat oven to 350 F. Slice chilled log into 1/4 to 1/3 inch rounds roll in coating and bake 10 to 12 minutes.
Cool and store
Cool on the baking sheet 5 minutes then transfer to a rack. Store in an airtight container or freeze.
Last Step: Please leave a rating and comment letting us know how you liked this recipe! This helps our business to thrive and continue providing free, high-quality recipes for you.
Nutrition
Did You Make This?
Leave a comment & rating below or tag
@solushcooks on social media!
Categories:
You might also like...

Spaghetti Squash Mac & Cheese
A lighter take on a classic comfort favorite that swaps pasta for roasted spaghetti squash and keeps all the creamy, cheesy goodness with optional broccoli or chicken for extra heartiness.

Coconut Cream Pie Overnight Oats
A dreamy no-cook breakfast that tastes like coconut cream pie — creamy coconut milk, tangy Greek yogurt, shredded coconut, and optional banana make mornings feel indulgent and effortless.

Roasted Sweet Potato Rounds with Honey & Feta
Crisp-edged sweet potato rounds roasted until tender, finished with salty feta, a drizzle of honey, and fresh parsley—an effortless crowd-pleaser for gatherings or weeknights.
Did You Make This?
Leave a comment & rating below or tag @solushcooks on social media!
Rate This Recipe
Share This Recipe
Enjoyed this recipe? Share it with friends and family, and don't forget to leave a review!
Comments (1)
This recipe looks amazing! Can't wait to try it.
Comments are stored locally in your browser. Server comments are displayed alongside your local comments.

Hi, I'm Lena!
What's Popular

30-Minute Meals!
Join to receive our email series which contains a round-up of some of our quick and easy family favorite recipes.