
>>

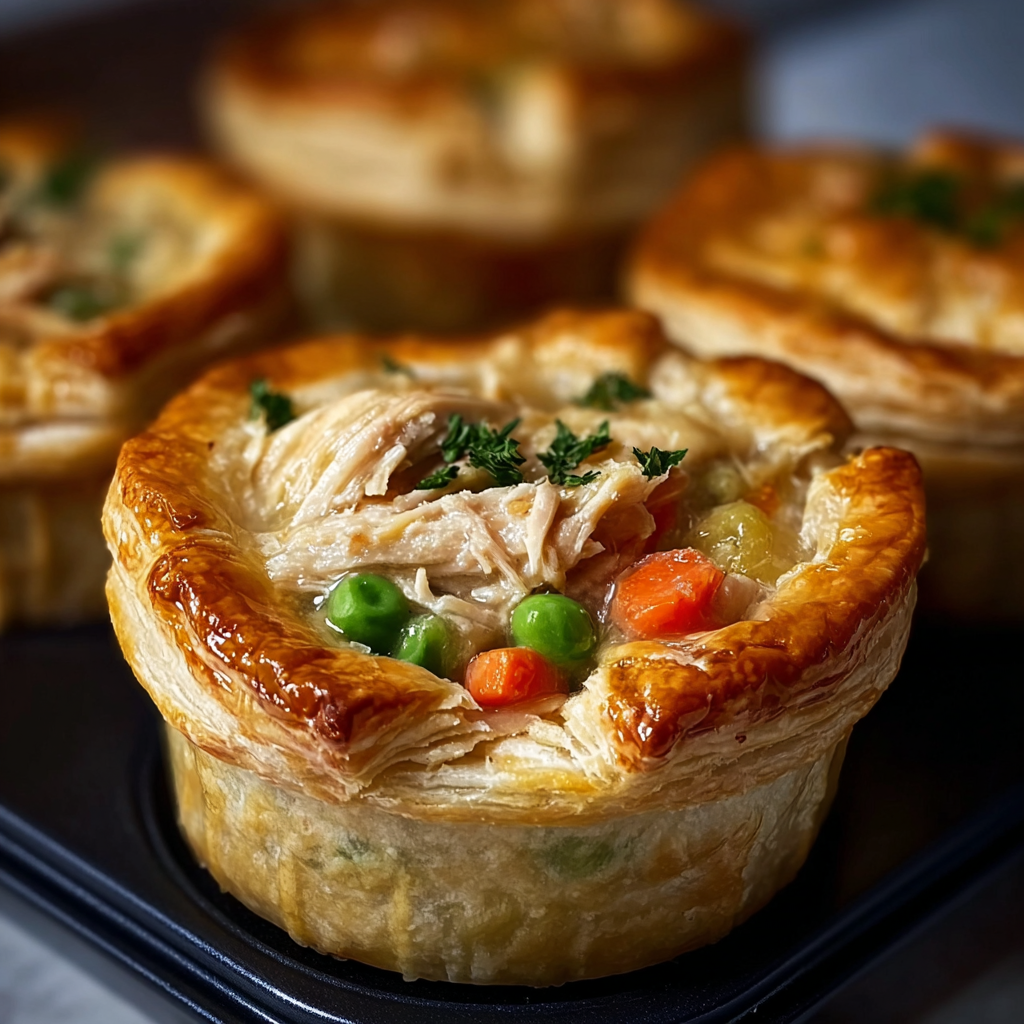
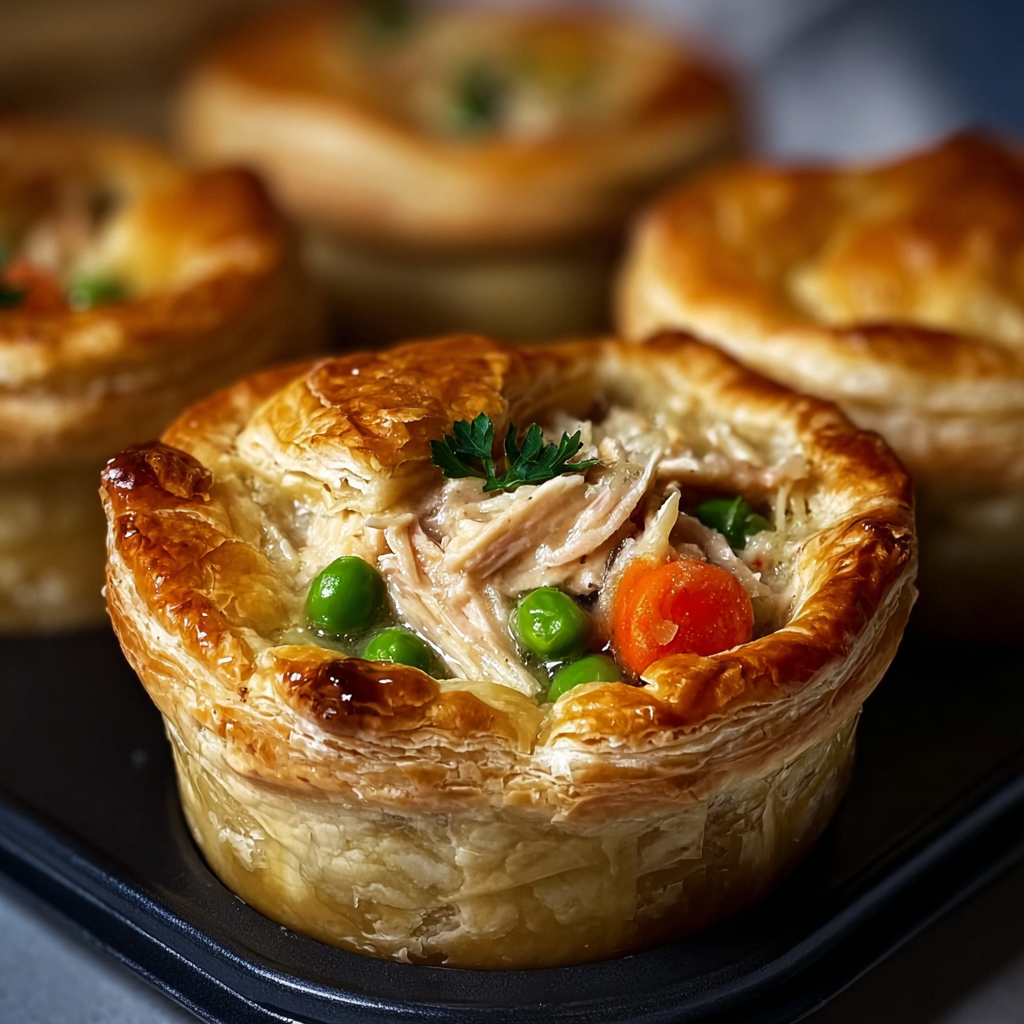
Golden, handheld pot pies filled with creamy chicken and mixed vegetables—easy to assemble, freezer-friendly, and perfect for parties or weeknight comfort.

This recipe for mini chicken pot pies is the kind of comfort food that became a family favorite the first time I made it. I discovered this shortcut version one rainy Saturday when I had leftover rotisserie chicken and a couple of cans of flaky layer biscuits in the pantry. The finished bites were warm, savory, and unbelievably satisfying: a buttery crust hugging a creamy chicken and vegetable filling. My kids declared them the best “pocket dinners” they’d ever had, and I loved how little hands could hold them while still getting a complete meal.
I keep coming back to these because they’re fast to put together, flexible with what you have on hand, and endlessly kid-friendly. The texture is all about contrast: the biscuit crust crisps up at the edges and browns on top while the interior filling stays silky and comforting. These mini versions are especially memorable at potlucks and game nights—there’s something undeniably nostalgic about a tiny pot pie that tastes like a grown-up version of lunchtime favorites.
I first served these at a casual holiday gathering and watched them disappear in minutes; neighbors asked for the recipe the next day. They’re the sort of dish that travels well, reheats beautifully, and never fails to generate compliments—simple comfort that feels a little bit special.
My favorite thing about these is their reliability: whether it’s a rushed weeknight dinner or an impromptu gathering, they deliver comforting flavor with almost no fuss. Watching guests smile as they bite into the warm crust and rich filling never gets old—these are the small joys that make cooking worth it.
Store leftover pies in an airtight container in the refrigerator for up to 4 days. To freeze, arrange cooled pies on a baking sheet until firm, then transfer to a freezer bag or airtight container with parchment between layers to prevent sticking; label with date—use within 3 months. Reheat baked pies from chilled in a 350°F oven for 10–12 minutes, or from frozen at 375°F for 20–25 minutes until hot through. For best texture, avoid microwave reheating for long periods as it softens the crust.
If you don’t have canned chicken, use 2 cups shredded rotisserie or poached chicken—leftovers work great. Swap cream of chicken for cream of mushroom or celery for a different flavor profile; reduce added herbs accordingly. For a vegetarian version, replace chicken with cubed, seasoned tofu and use cream of mushroom soup, adding an extra cup of drained cooked lentils for protein. To make a richer filling, fold in 1/2 cup shredded cheddar or a tablespoon of butter; to reduce sodium, choose low-sodium canned soup and add fresh herbs to boost flavor.
Serve these as an appetizer or main—pair with a crisp green salad, roasted Brussels sprouts, or a light slaw to balance the richness. For brunch, make them smaller and offer a dollop of hot sauce or horseradish cream at the side. Garnish with chopped parsley, chives, or a sprinkle of smoked paprika for color and a flavor lift. They also travel well for picnics and potlucks; line a basket with a clean towel to keep them warm and presentable.
Individual pot pies are rooted in classic British and American comfort traditions where savory fillings are encased in pastry. Miniature versions reflect the American love of handheld, portable foods—small pies have appeared in roadside diner menus and church potlucks for generations. Using refrigerated biscuits and canned soup is a modern shortcut that emerged alongside convenience foods of the 20th century, while the core idea—meat and vegetables in a creamy base beneath a crisp pastry—remains timeless and cross-cultural.
Adapt these through the year by swapping vegetables: garden peas and new carrots in spring, summer corn and bell peppers in late summer, and root vegetables like diced parsnip or sweet potato in fall. Holiday versions can use leftover turkey and cranberry-mustard drizzle; winter adaptations benefit from warming spices—try a pinch of smoked paprika or nutmeg in the filling. For lighter summer servings, reduce the creaminess with Greek yogurt and add fresh herbs and lemon zest.
Double the filling and freeze portions in single-serve containers for quick assembly later—when you’re ready, thaw the filling and spoon into flattened biscuits, then bake. You can also assemble pies in the muffin tin, wrap the whole tin tightly with plastic wrap, and freeze; bake from frozen adding 6–10 minutes to the time. Use silicone muffin pans for easier release and less scraping when reheating. Keep a stash of canned chicken, soup, and frozen vegetables to make this a true go-to option.
These mini pies are more than a recipe—they’re a little ritual of warmth that turns leftovers and pantry staples into something celebratory. Try them once, tweak them to your taste, and you’ll have a versatile standby for quick dinners and entertaining alike.
Thaw and drain frozen vegetables completely to prevent a watery filling.
Use a spatula to gently loosen mini pies from the pan; silicone pans make removal easier.
If the filling seems thin, stir in 1–2 tablespoons of instant mashed potato flakes to thicken.
This nourishing mini chicken pot pies recipe is sure to be a staple in your kitchen. Enjoy every moist, high protein slice — it is perfect for breakfast or as a wholesome snack any time.
Yes—unbaked pies freeze well. Freeze on a tray until firm, then transfer to a freezer bag. Bake from frozen, adding 6–10 minutes.
Reheat in a 350°F oven for 10–12 minutes from chilled or 20–25 minutes from frozen until heated through and crust is crisp.
This Mini Chicken Pot Pies recipe makes perfectly juicy, tender, and flavorful steak every time! Serve with potatoes and a side salad for an unforgettable dinner in under 30 minutes.
Preheat the oven to 400°F (200°C) so it’s fully heated when the pies go in; this helps the biscuit edges brown quickly while the filling heats through.
In a large bowl combine both cans of cream of chicken soup, shredded chicken, and thawed mixed vegetables. Season with salt, pepper, and thyme, and adjust thickness with a tablespoon of milk if needed.
Flatten each biscuit to about 1/8 inch thick and press into greased muffin cups to form a small crust that lines the tin and creates walls to hold the filling.
Spoon the chicken mixture into each biscuit-lined cup about three-quarters full to avoid overflow during baking. Reserve any extra mixture for another pan or bowls.
Bake for 18–22 minutes until biscuit tops are golden and filling bubbles. Let cool in the pan for 5 minutes before removing to allow the filling to set.
Last Step: Please leave a rating and comment letting us know how you liked this recipe! This helps our business to thrive and continue providing free, high-quality recipes for you.
Leave a comment & rating below or tag
@solushcooks on social media!

A lighter take on a classic comfort favorite that swaps pasta for roasted spaghetti squash and keeps all the creamy, cheesy goodness with optional broccoli or chicken for extra heartiness.

A dreamy no-cook breakfast that tastes like coconut cream pie — creamy coconut milk, tangy Greek yogurt, shredded coconut, and optional banana make mornings feel indulgent and effortless.

Crisp-edged sweet potato rounds roasted until tender, finished with salty feta, a drizzle of honey, and fresh parsley—an effortless crowd-pleaser for gatherings or weeknights.
Leave a comment & rating below or tag @solushcooks on social media!
Enjoyed this recipe? Share it with friends and family, and don't forget to leave a review!
This recipe looks amazing! Can't wait to try it.
Comments are stored locally in your browser. Server comments are displayed alongside your local comments.

Join to receive our email series which contains a round-up of some of our quick and easy family favorite recipes.
