
Lemon Rice Krispy Treats

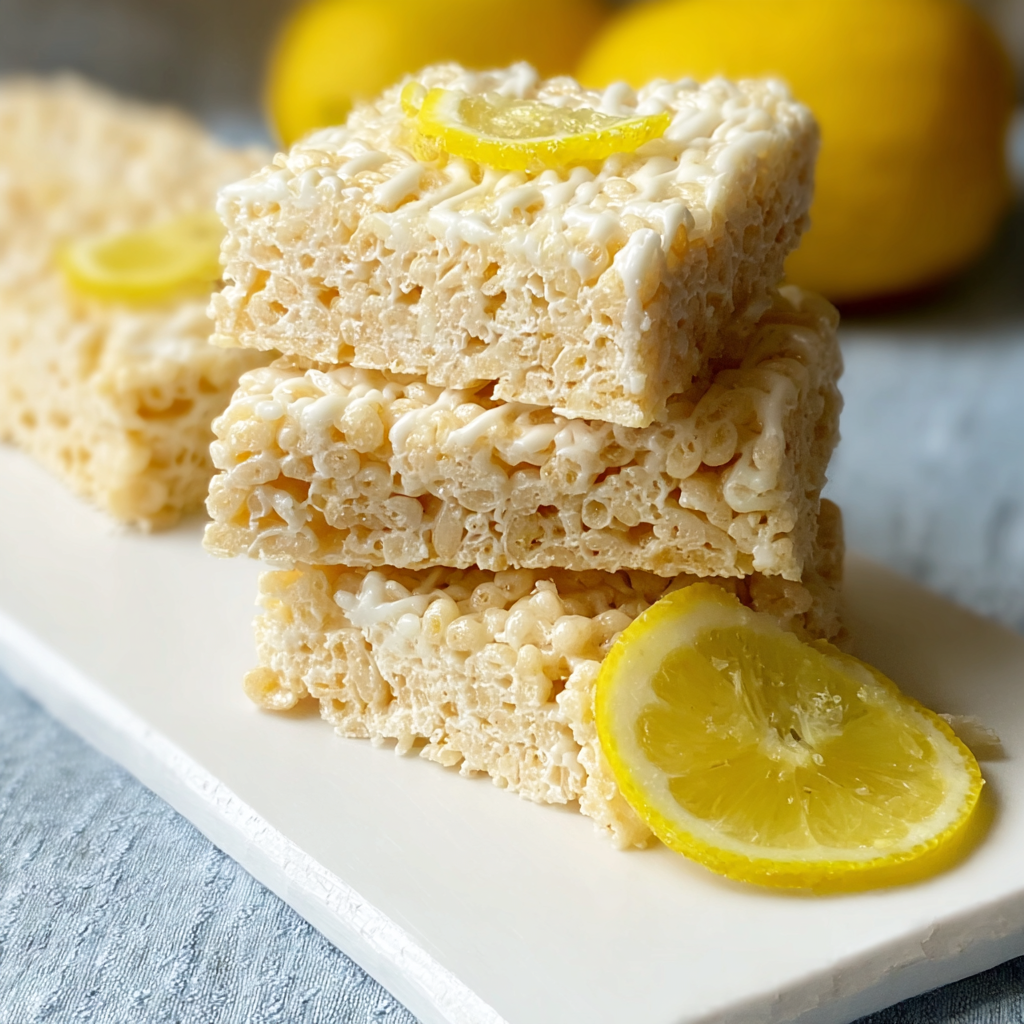
Bright, zesty rice krispy squares studded with lemon zest and drizzled with white chocolate—an easy, nostalgic treat with a citrus twist perfect for parties and sunshine-filled afternoons.
Why You'll Love This Recipe
- Lightning-fast to prepare: only about 10 minutes of hands-on work and a short chill—perfect when you need a last-minute dessert.
- Pantry-friendly ingredients: uses common staples like Rice Krispies, butter, marshmallows, and white chocolate—easy to make without a special grocery run.
- Bright citrus twist: lemon zest and optional lemon extract give a fresh flavor that balances the sweetness for a grown-up treat.
- Make-ahead and portable: holds up well for parties, school lunches, or picnics—cut into squares and stack in an airtight container.
- Customizable texture: press lightly for softer bars or firmly for denser, chewier squares to suit your preference.
- Kid-approved with a gourmet touch: kids love the chew and color, adults appreciate the lemon complexity and white chocolate finish.
When I first made these, I brought them to a neighborhood potluck. People kept coming back for more, and one friend asked for the recipe because she wanted to replicate the exact balance of tart and sweet. Little moments like that—watching someone taste and immediately smile—are why I keep this version in my recipe rotation.
Ingredients
- Rice Krispies cereal (6 cups): The light, crispy texture of plain Rice Krispies is essential. Use original Rice Krispies for the trademark snap; if you need gluten-free, choose a certified gluten-free puffed rice alternative. Measure by lightly filling a standard 6-cup measure and leveling the top.
- Unsalted butter (3 tablespoons): Start with unsalted so you control saltiness. Use high-quality butter like Kerrygold or Land O Lakes for better mouthfeel; melt gently rather than sizzling to avoid burnt flavor.
- Mini marshmallows (3 cups): I used a mix of lemon-flavored yellow minis and classic white for visual pop and citrus notes. If you can’t find lemon minis, use all classic and boost the flavor with extra zest and extract.
- Lemon zest (zest of 1 lemon): Fresh zest provides aromatic oils—don’t substitute with bottled lemon flavor. Use a microplane to get fine, evenly distributed bits that disperse through the bars.
- Lemon extract (1/2 teaspoon, optional): Adds an immediate citrus boost; use sparingly to avoid artificial flavor. Replace with 1 teaspoon of fresh lemon juice for a fresher, less concentrated taste but mind that extra liquid can slightly change texture.
- White chocolate chips or melting wafers (1/2 cup): Provides a creamy counterpoint; using melting wafers makes drizzling easier. Choose a quality brand to avoid waxy texture—Ghirardelli or confectionery melting wafers work well.
- Lemon peel or extra zest, for garnish: Thin curls of peel or a sprinkle of extra zest make the finished bars feel special and increase that citrus aroma right before serving.
Instructions
Prepare the pan: Line a 9x13-inch pan with parchment paper leaving a little overhang on two sides for easy removal; lightly butter the parchment. This ensures clean squares and prevents sticking. If you prefer thicker bars, use an 8x8-inch pan instead—expect thicker results and slightly longer chill time. Melt butter and marshmallows: In a large heavy-bottomed saucepan over low heat, melt 3 tablespoons of unsalted butter until it’s fully liquid but not browned (about 1–2 minutes). Add 3 cups of mini marshmallows and stir constantly with a wooden spoon or heatproof spatula until glossy and completely melted (about 2–3 minutes). Keep the heat low to avoid scorching; the marshmallow stage is about softening and emulsifying, not boiling. Add lemon flavor and cereal: Remove the pan from heat and immediately stir in the zest of 1 lemon and 1/2 teaspoon lemon extract if using. Fold in the 6 cups Rice Krispies cereal in two additions, mixing quickly but gently so the cereal remains airy and the marshmallow evenly coats each spoonful. Work quickly—the marshmallow sets as it cools. Press into pan: Transfer the cereal mixture into the prepared pan. Using a piece of parchment or a buttered spatula, press the mixture evenly into the pan. For chewier bars press firmly; for softer, lighter bars press gently. Aim for an even thickness; smooth the top with a spatula. Let cool at room temperature for about 10 minutes before the chocolate finish. Finish and chill: Melt 1/2 cup white chocolate chips or wafers in short bursts in the microwave (20–30 seconds), stirring until smooth, or use a double boiler. Drizzle over the cooled bars in a zigzag pattern and sprinkle extra lemon zest or thin lemon peel curls on top. Refrigerate for 20–30 minutes to set, then lift from pan using parchment overhang and cut into 12 squares with a sharp knife.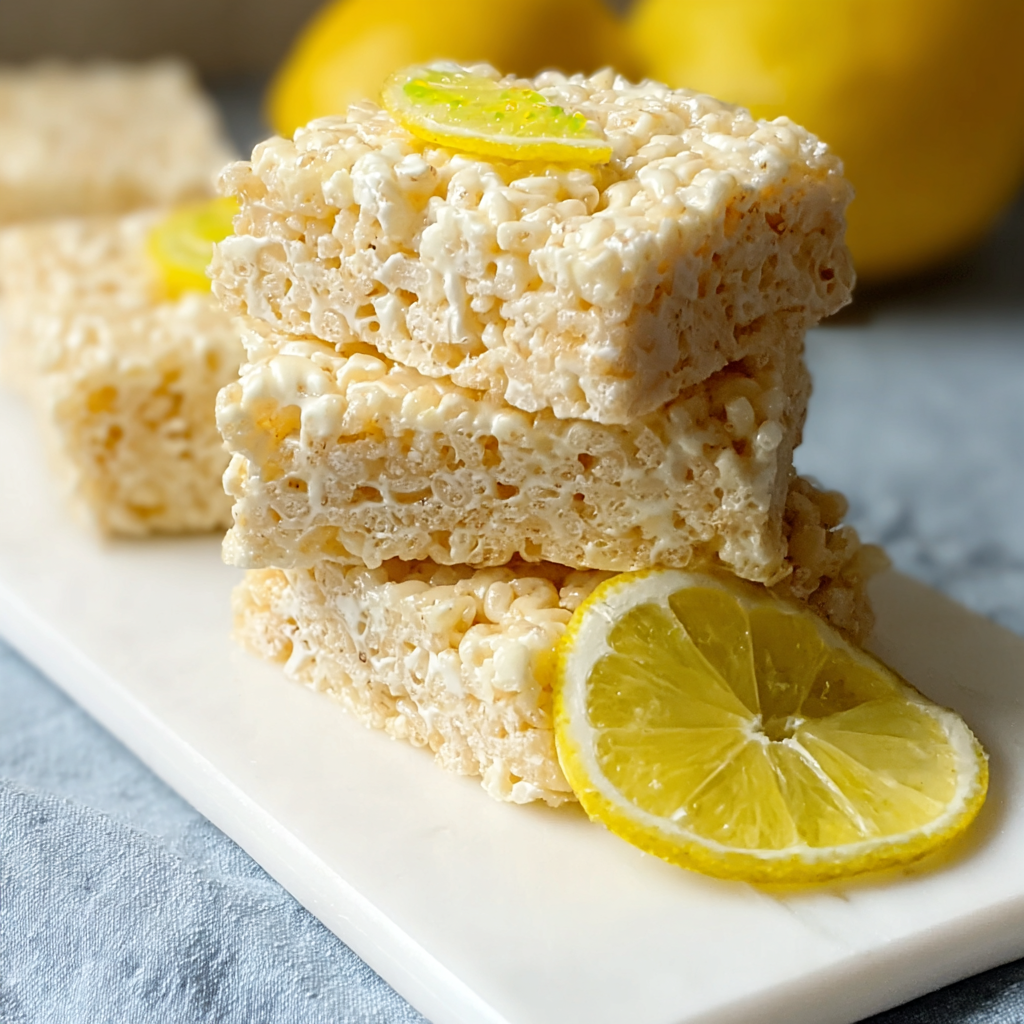
You Must Know
- Storage: keep in an airtight container at room temperature up to 3 days for best chew; refrigeration can firm them but may make them chewier—use parchment layers between squares.
- Freezing: wrap individual squares in plastic and freeze for up to 3 months; thaw at room temperature for 30–60 minutes before serving.
- Nutrition: treats are high in sugar and carbs—enjoy as an occasional sweet. One square is roughly 180 calories depending on size and chocolate used.
- Texture control: pressing firmly yields denser, chewier bars; pressing lightly yields loftier, softer bars.
- Ingredient swap caution: adding liquid citrus juice to the marshmallows will change texture; prefer extract or zest for flavor without altering structure.
My favorite part is the moment the white chocolate melts into the lemon zest aroma—the kitchen smells like spring. These bars have become my go-to for neighborhood gatherings because they please both kids and adults: kids love the chew and color, while grown-ups comment on the bright, clean citrus note. Once, I packed a box for a teacher appreciation event and returned to find only crumbs and a sticky note that said, “Magic—please never stop making these.” Those little notes are the reason I keep this simple twist on a classic in heavy rotation.
Storage Tips
For short-term storage, lay the squares in a single layer in an airtight container with parchment paper between layers to prevent sticking. At room temperature they remain tender for about 2–3 days; refrigeration extends shelf life to about a week but firms the bars. To freeze, wrap individual squares tightly in plastic wrap and place in a freezer-safe bag for up to 3 months. Thaw at room temperature for 30–60 minutes; avoid microwaving frozen bars as white chocolate can bloom or become grainy. Look for a glossy marshmallow surface and fresh lemon aroma as indicators of quality.
Ingredient Substitutions
If you need gluten-free, swap the Rice Krispies for a certified gluten-free puffed rice cereal—texture remains close but may be slightly lighter. For a dairy-free version, use vegan butter and dairy-free white chocolate or a thin ganache made from coconut cream and melted dairy-free chips; note the flavor will lean more coconutty. To make vegetarian-friendly marshmallow alternatives, seek gelatin-free marshmallows made with plant-based gelling agents. If you prefer less sweetness, reduce white chocolate to 1/4 cup or omit entirely and dust lightly with powdered sugar mixed with a touch of lemon zest.
Serving Suggestions
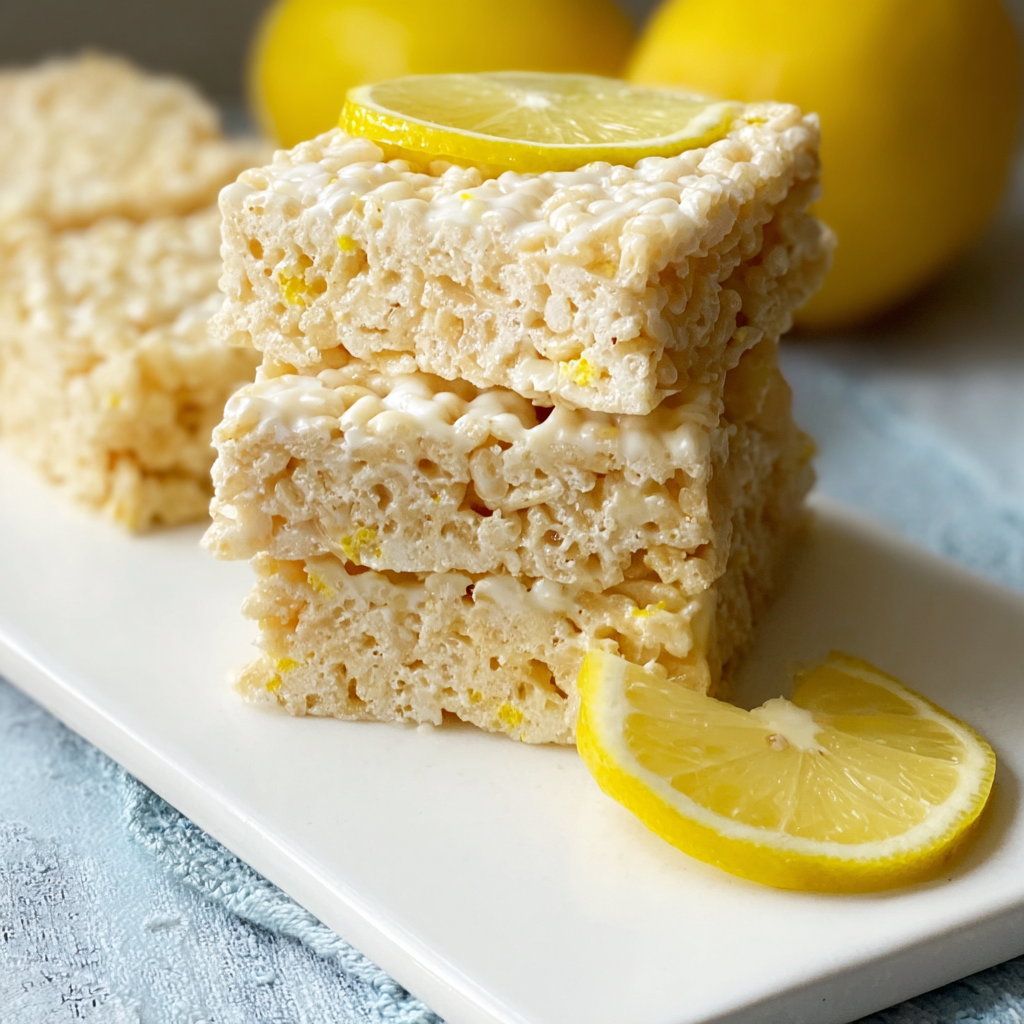
Serve at room temperature on a pretty platter garnished with thin lemon curls or a dusting of extra zest. These squares pair beautifully with a cup of Earl Grey tea, iced green tea, or a sparkling lemonade for a citrus-themed spread. For parties, cut into small bite-sized squares and arrange on a tiered stand with fresh berries and sprigs of mint. They also make a charming addition to picnic baskets or boxed lunches—wrap individually in wax paper for easy transport and a polished presentation.
Cultural Background
Puffed rice and marshmallow confections have long been a part of American home baking culture, rooted in the mid-20th-century rise of convenience cereals and marshmallows as quick dessert components. The original puffed rice bar gained popularity as an easy, child-friendly treat; over time bakers have adapted it with flavors and add-ins. The lemon variation is a modern twist that adds a Mediterranean-inspired brightness, reflecting how classic comfort snacks evolve through simple flavor additions to become seasonal favorites.
Seasonal Adaptations
In spring and summer, emphasize freshness by adding lemon zest and using yellow marshmallows for a sunny look. For autumn, swap lemon for a pinch of cinnamon and orange zest, or fold in chopped toasted nuts for crunch. During the holidays, add pinch of nutmeg and use festive sprinkles over the white chocolate, or melt dark chocolate instead for a richer finish. For a celebration, fold in edible glitter or use cookie cutters to create themed shapes when chilled firmly.
Meal Prep Tips
Make a double batch and freeze half for later—wrap squares individually and store in freezer bags. If prepping for a week of snacks, portion into single-serve containers or small parchment-wrapped bundles to maintain freshness. Keep garnishes separate (zest or peel curls) and add them just before serving for maximum aroma. When transporting, place squares in a shallow box with parchment layers and a non-slip mat underneath to prevent sliding during travel.
These Lemon Rice Krispy squares are a little bright, a little nostalgic, and entirely shareable—perfect for when you want to bring a smile quickly. Make them your own: tweak the citrus intensity, chocolate coverage, or texture to match what your friends and family love, and enjoy the small joy of turning pantry staples into something memorable.
Pro Tips
Use a microplane to zest the lemon finely so the oils disperse evenly without large bitter pith pieces.
Press the mixture with parchment for an even surface; pressing firmly yields chewier squares, pressing gently keeps them light.
Melt white chocolate in short microwave bursts and stir between intervals to prevent overheating and seizing.
If doubling the batch, heat marshmallows in a large, heavy-bottomed pot for even melting and stir constantly to avoid hot spots.
This nourishing lemon rice krispy treats recipe is sure to be a staple in your kitchen. Enjoy every moist, high protein slice — it is perfect for breakfast or as a wholesome snack any time.
FAQs about Recipes
How long do these treats keep?
Store at room temperature in an airtight container for up to 3 days; refrigerate to extend life but expect firmer texture.
Can I make them gluten-free or vegetarian?
Yes. Use certified gluten-free puffed rice cereal and verify marshmallows are gelatin-free if needed.
Tags
Lemon Rice Krispy Treats
This Lemon Rice Krispy Treats recipe makes perfectly juicy, tender, and flavorful steak every time! Serve with potatoes and a side salad for an unforgettable dinner in under 30 minutes.
Ingredients
Main
Flavoring
Finish
Instructions
Prepare the pan
Line a 9x13-inch pan with parchment paper leaving an overhang for easy removal; lightly butter the parchment to prevent sticking.
Melt butter and marshmallows
In a large heavy-bottomed saucepan over low heat, melt 3 tablespoons unsalted butter. Add 3 cups mini marshmallows and stir constantly until glossy and completely melted, about 2–3 minutes. Keep heat low to avoid scorching.
Add lemon and cereal
Remove from heat, stir in zest of 1 lemon and 1/2 teaspoon lemon extract if using. Fold in 6 cups Rice Krispies cereal in two additions until evenly coated.
Press into pan
Transfer mixture to prepared pan and press evenly using a piece of parchment or a buttered spatula. Press firmly for chewier bars or gently for softer bars. Let cool 10 minutes.
Drizzle chocolate and chill
Melt 1/2 cup white chocolate chips and drizzle over the cooled bars. Sprinkle extra lemon zest or peel curls, refrigerate 20–30 minutes to set, then cut into 12 squares.
Last Step: Please leave a rating and comment letting us know how you liked this recipe! This helps our business to thrive and continue providing free, high-quality recipes for you.
Nutrition
Did You Make This?
Leave a comment & rating below or tag
@solushcooks on social media!
Categories:
You might also like...

Spaghetti Squash Mac & Cheese
A lighter take on a classic comfort favorite that swaps pasta for roasted spaghetti squash and keeps all the creamy, cheesy goodness with optional broccoli or chicken for extra heartiness.
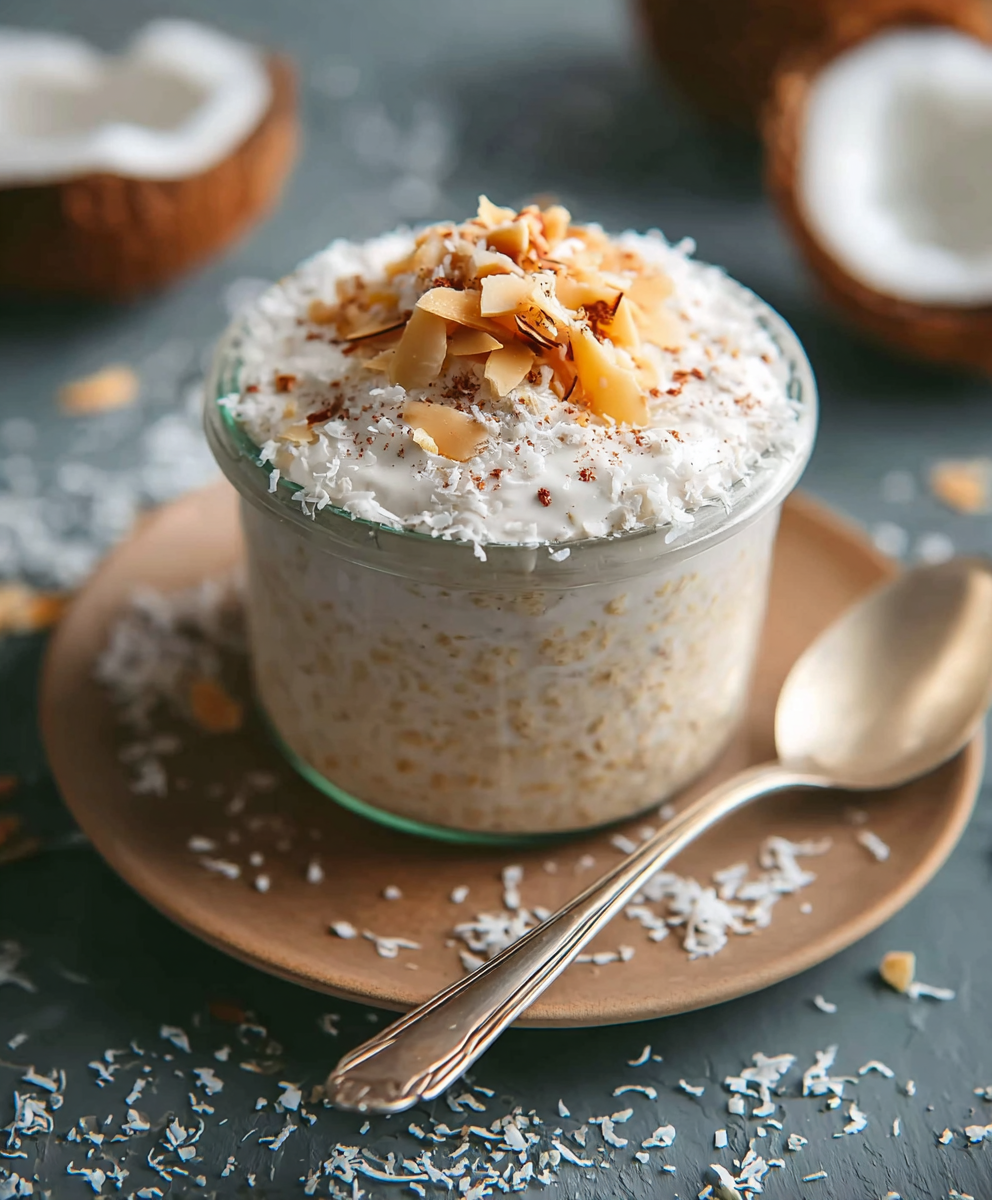
Coconut Cream Pie Overnight Oats
A dreamy no-cook breakfast that tastes like coconut cream pie — creamy coconut milk, tangy Greek yogurt, shredded coconut, and optional banana make mornings feel indulgent and effortless.
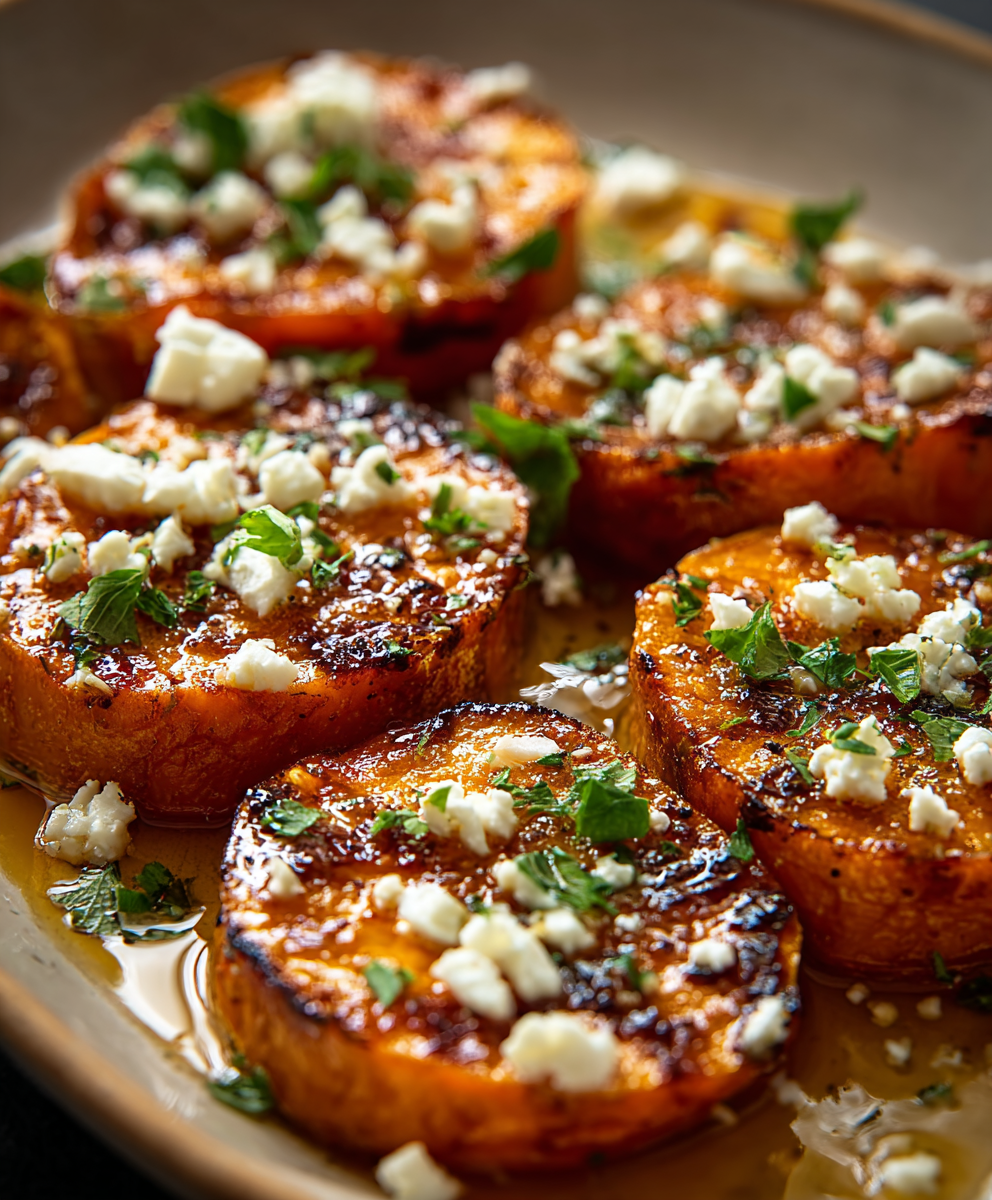
Roasted Sweet Potato Rounds with Honey & Feta
Crisp-edged sweet potato rounds roasted until tender, finished with salty feta, a drizzle of honey, and fresh parsley—an effortless crowd-pleaser for gatherings or weeknights.
Did You Make This?
Leave a comment & rating below or tag @solushcooks on social media!
Rate This Recipe
Share This Recipe
Enjoyed this recipe? Share it with friends and family, and don't forget to leave a review!
Comments (1)
This recipe looks amazing! Can't wait to try it.
Comments are stored locally in your browser. Server comments are displayed alongside your local comments.

Hi, I'm Lena!
What's Popular

30-Minute Meals!
Join to receive our email series which contains a round-up of some of our quick and easy family favorite recipes.