
>>

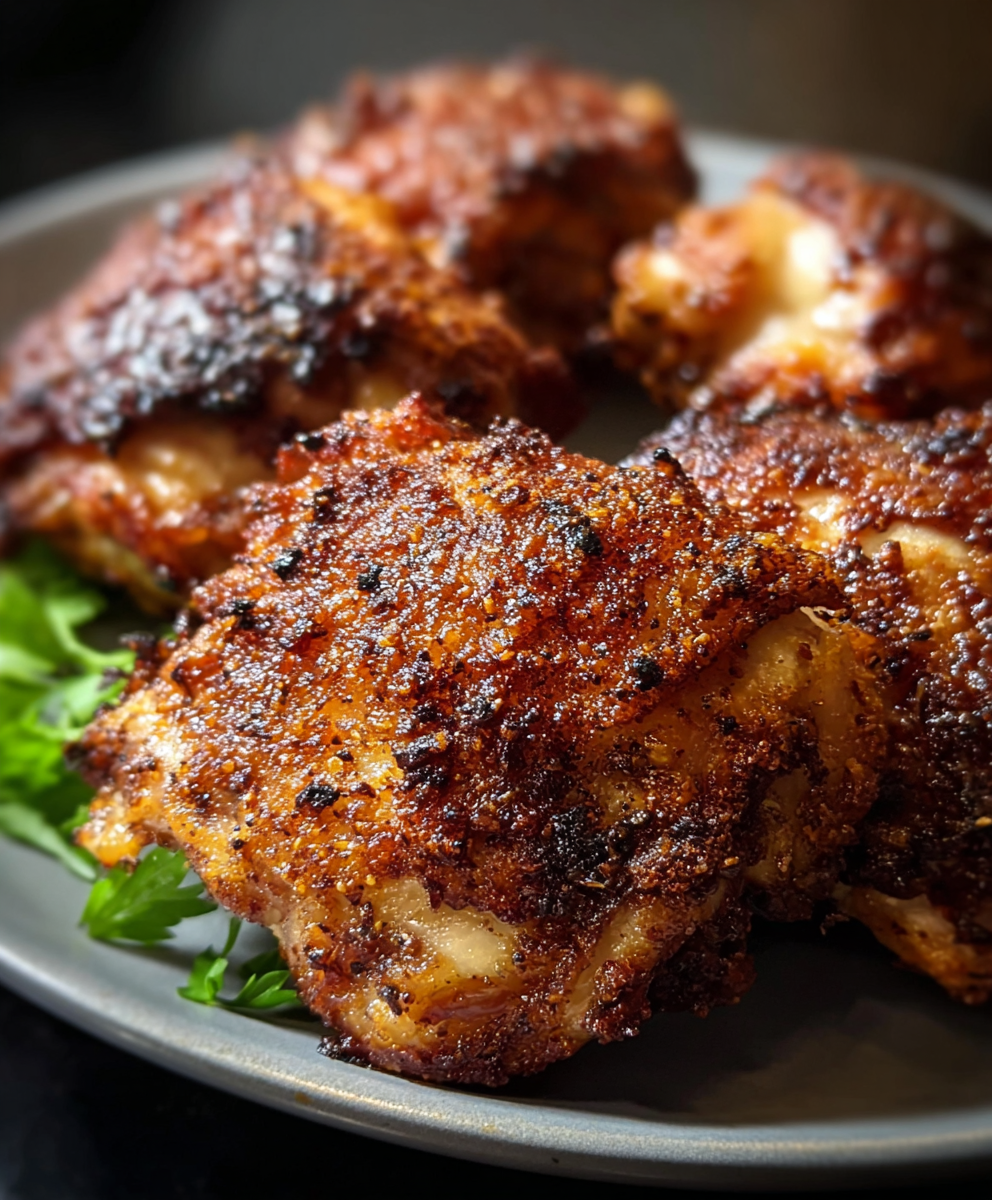
Bone-in, skin-on chicken thighs marinated in buttermilk, coated in seasoned panko and baked until golden-crisp—an easy, comforting crowd-pleaser.

This recipe for Crispy Irish Chicken Thighs is one of those dishes that stitched itself into our weeknight rotation the moment I first tried it. I discovered the combination of a quick buttermilk soak and a herbed panko coating on a rainy Sunday when I wanted something comforting but not fussy. The result was unexpectedly celebratory: the skin blistered and crunchy, the meat tender and juicy, and the seasoning a gentle nod to classic Irish savory flavors. It’s the kind of dish that fills the kitchen with warm aromas and earns compliments from everyone at the table.
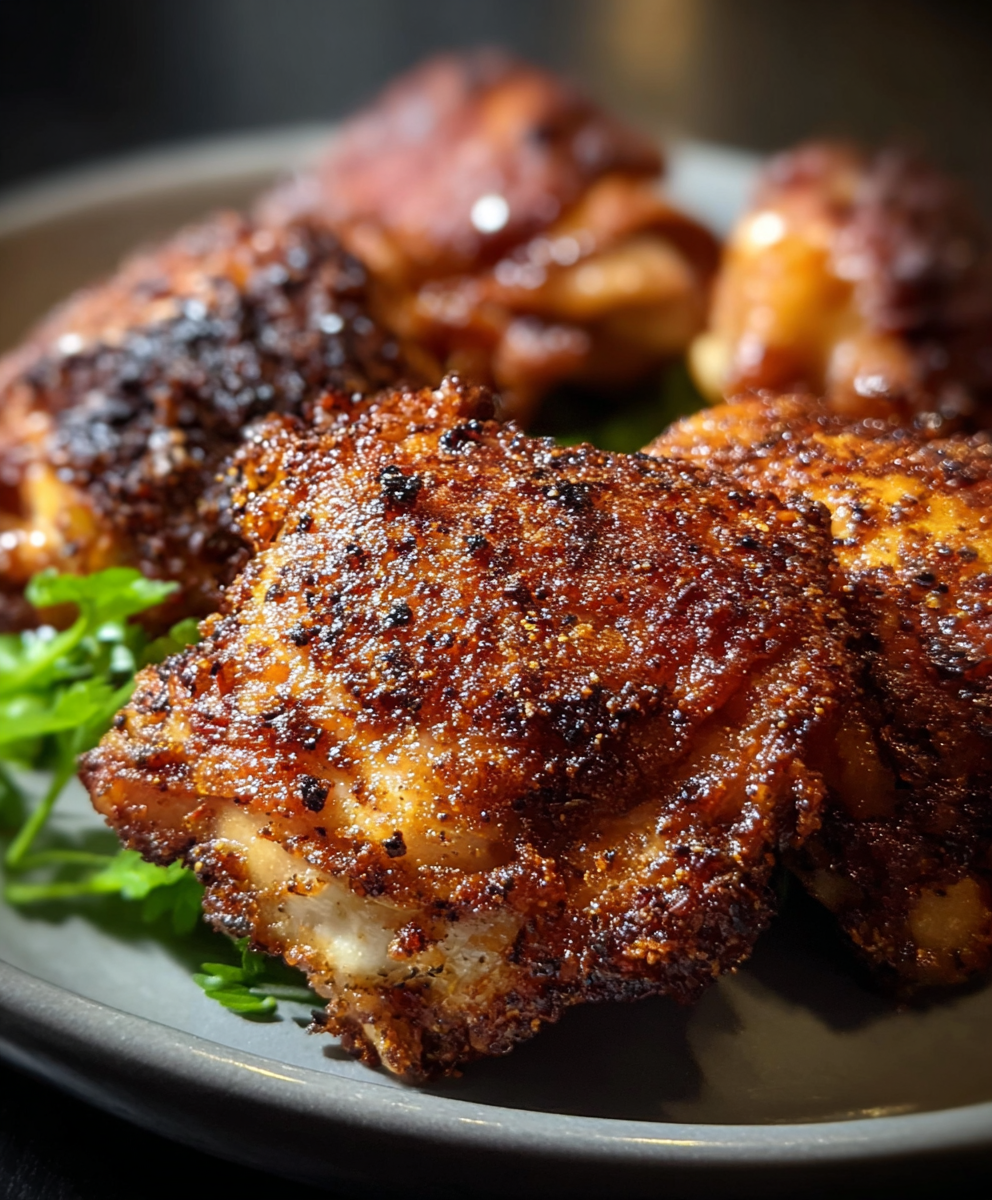
What makes this preparation special is the simplicity of technique married to careful small details. A short buttermilk bath lifts the proteins just enough to make the thighs tender without a long brine. The panko breadcrumb blend, tempered with smoked paprika and dried thyme, gives an aromatic crust that stays crisp after baking. On the first night I made this, my family circled the oven, stealing edges as the thighs cooled just enough to handle; nobody missed frying. This version works as an easy weeknight main, a weekend treat, or a party centerpiece when you want hands-on comfort with minimal fuss.
In my experience, this dish is the one guests describe as "comforting but light." My sister asked for the recipe after a Sunday dinner and we’ve since brought it to potlucks—people keep asking whether it was pan-fried because the crust is so crisp. Small technique notes, like letting excess buttermilk drip off before dredging, make a big difference in the final crunch.

My favorite thing about this preparation is how reliably it produces contrast: a crisp exterior with moist meat. The first time I served it at a small family gathering, everyone reached for the skin first—always a good sign—and the leftovers were gone by the next day. Little adjustments, like a second dredge or using a rack, made noticeable improvements in texture.
To refrigerate, cool thighs to room temperature, then place in an airtight container lined with paper towels to absorb excess moisture; they will keep well for up to 3 days. For freezing, arrange on a tray to flash-freeze the coated thighs for 1 hour, then transfer to a labeled freezer bag; they keep up to 3 months. Reheat from frozen in a 375°F oven on a rack for 25–35 minutes, or thaw overnight in the refrigerator and re-crisp at 400°F for 10–12 minutes.
If you need a dairy-free option, thin full-fat coconut yogurt with a splash of apple cider vinegar as a buttermilk substitute and swap melted butter for olive oil. For gluten-free, use a certified gluten-free all-purpose flour and gluten-free panko breadcrumbs; the texture will be slightly denser but still satisfyingly crunchy. To reduce sodium, cut salt to 1 teaspoon and add finishing flaky sea salt to taste.
Serve these thighs with buttery mashed potatoes and steamed green beans for classic comfort, or pair with a bright cabbage slaw and lemon wedges to cut through the richness. For a pub-style spread, add roasted carrots and crusty bread. Garnish with chopped parsley or a squeeze of fresh lemon for brightness before serving.
While this recipe is not a traditional Irish dish per se, it borrows the simplicity and hearty spirit common to Irish home cooking—simple proteins prepared with modest pantry herbs and butter. The smoked paprika adds a contemporary layer to complement thyme, evoking modern adaptations of classic comfort food found across Irish households and contemporary pubs.
In winter, pair with root vegetables and a stout gravy for a cozy plate. In spring and summer, lighten the meal with a crisp pea and mint salad and finish the thighs with lemon zest. For holiday gatherings, swap dried thyme for chopped fresh rosemary and add a teaspoon of ground mustard to the coating for a festive edge.
For meal prep, marinate all thighs the night before and keep the breadcrumb mixture in an airtight container. On the day you plan to bake, dredge and arrange on trays, then refrigerate uncovered for 30 minutes to help the coating set before baking. Store individual portions in meal prep containers and reheat in the oven for the best texture.
These Crispy Irish Chicken Thighs are the kind of dependable recipe you’ll return to again and again. They strike a satisfying balance between comfort and ease, and with a few small adjustments you can tailor them to any occasion. Enjoy the process and don’t be afraid to experiment with herbs and finishing touches to make this dish your own.
Let excess buttermilk drip off before dredging to prevent a soggy coating.
Use a wire rack on the baking sheet to allow air circulation and keep the underside crisp.
Check the internal temperature at the thickest part of the thigh (165°F/74°C) to ensure doneness.
For extra crunch, double-dredge: buttermilk, coat, then quick dip and recoat with panko.
This nourishing crispy irish chicken thighs recipe is sure to be a staple in your kitchen. Enjoy every moist, high protein slice — it is perfect for breakfast or as a wholesome snack any time.
This Crispy Irish Chicken Thighs recipe makes perfectly juicy, tender, and flavorful steak every time! Serve with potatoes and a side salad for an unforgettable dinner in under 30 minutes.
Preheat oven to 425°F (220°C). Line a rimmed baking sheet with parchment and grease lightly; use a wire rack if available.
Place thighs in a large bowl, pour 1 cup buttermilk over them, turn to coat and let sit 15 minutes at room temperature or refrigerate up to 8 hours.
Combine 1 1/2 cups panko, 1 cup flour, 2 teaspoons salt, 1 teaspoon black pepper, 1 teaspoon smoked paprika, 1 teaspoon dried thyme, and 1/2 teaspoon garlic powder in a shallow dish.
Remove thighs from buttermilk, let excess drip off, press into breadcrumb mixture to coat evenly; for thicker crust, re-dip and recoat.
Place coated thighs skin-side up on the prepared sheet, drizzle with 2 tablespoons melted butter (or olive oil) to encourage browning.
Bake at 425°F (220°C) for about 40 minutes until the crust is deep golden and the internal temperature reaches 165°F (74°C); tent if browning too quickly.
Last Step: Please leave a rating and comment letting us know how you liked this recipe! This helps our business to thrive and continue providing free, high-quality recipes for you.
Leave a comment & rating below or tag
@solushcooks on social media!

A lighter take on a classic comfort favorite that swaps pasta for roasted spaghetti squash and keeps all the creamy, cheesy goodness with optional broccoli or chicken for extra heartiness.

A dreamy no-cook breakfast that tastes like coconut cream pie — creamy coconut milk, tangy Greek yogurt, shredded coconut, and optional banana make mornings feel indulgent and effortless.

Crisp-edged sweet potato rounds roasted until tender, finished with salty feta, a drizzle of honey, and fresh parsley—an effortless crowd-pleaser for gatherings or weeknights.
Leave a comment & rating below or tag @solushcooks on social media!
Enjoyed this recipe? Share it with friends and family, and don't forget to leave a review!
This recipe looks amazing! Can't wait to try it.
Comments are stored locally in your browser. Server comments are displayed alongside your local comments.

Join to receive our email series which contains a round-up of some of our quick and easy family favorite recipes.
