
>>

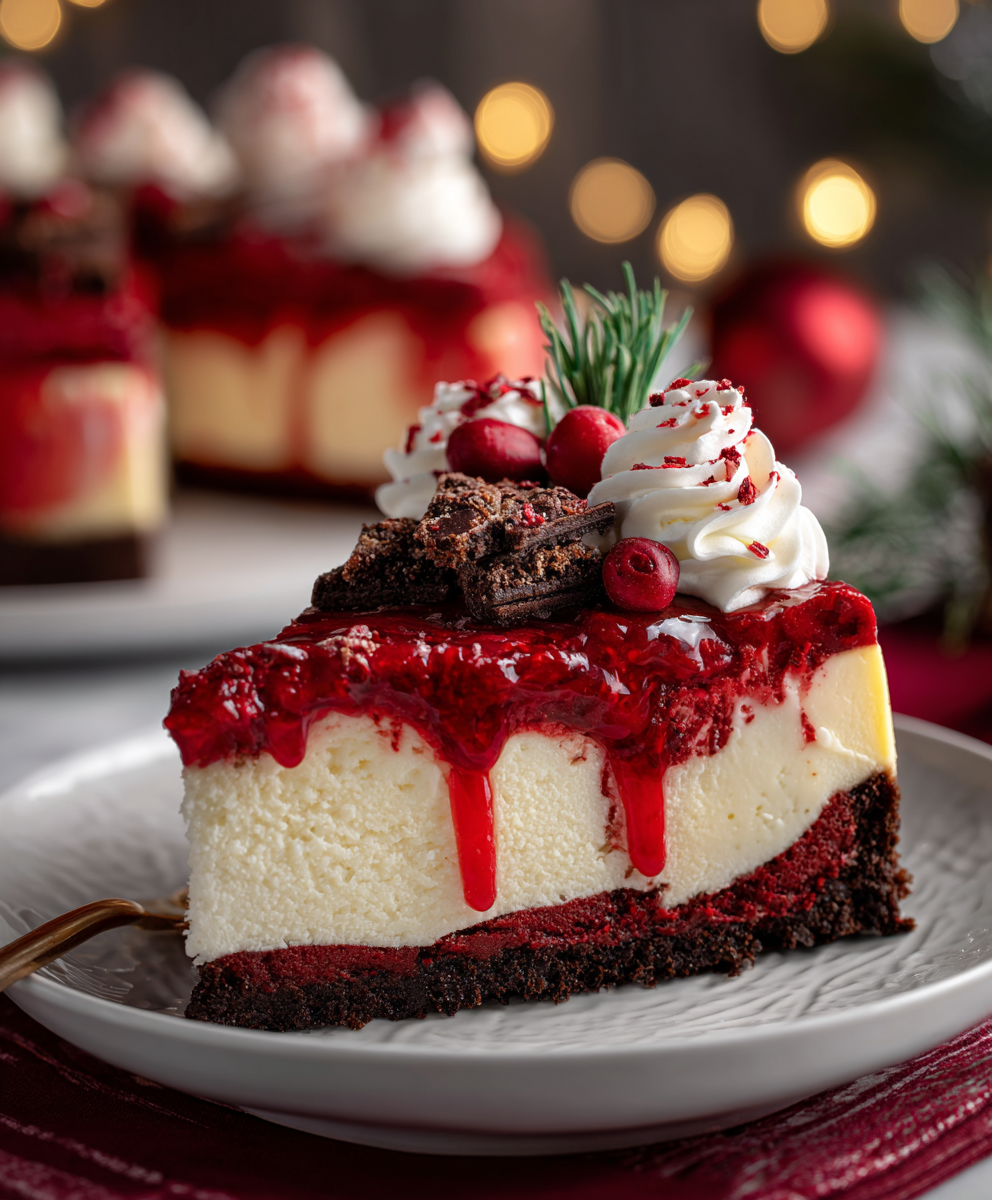
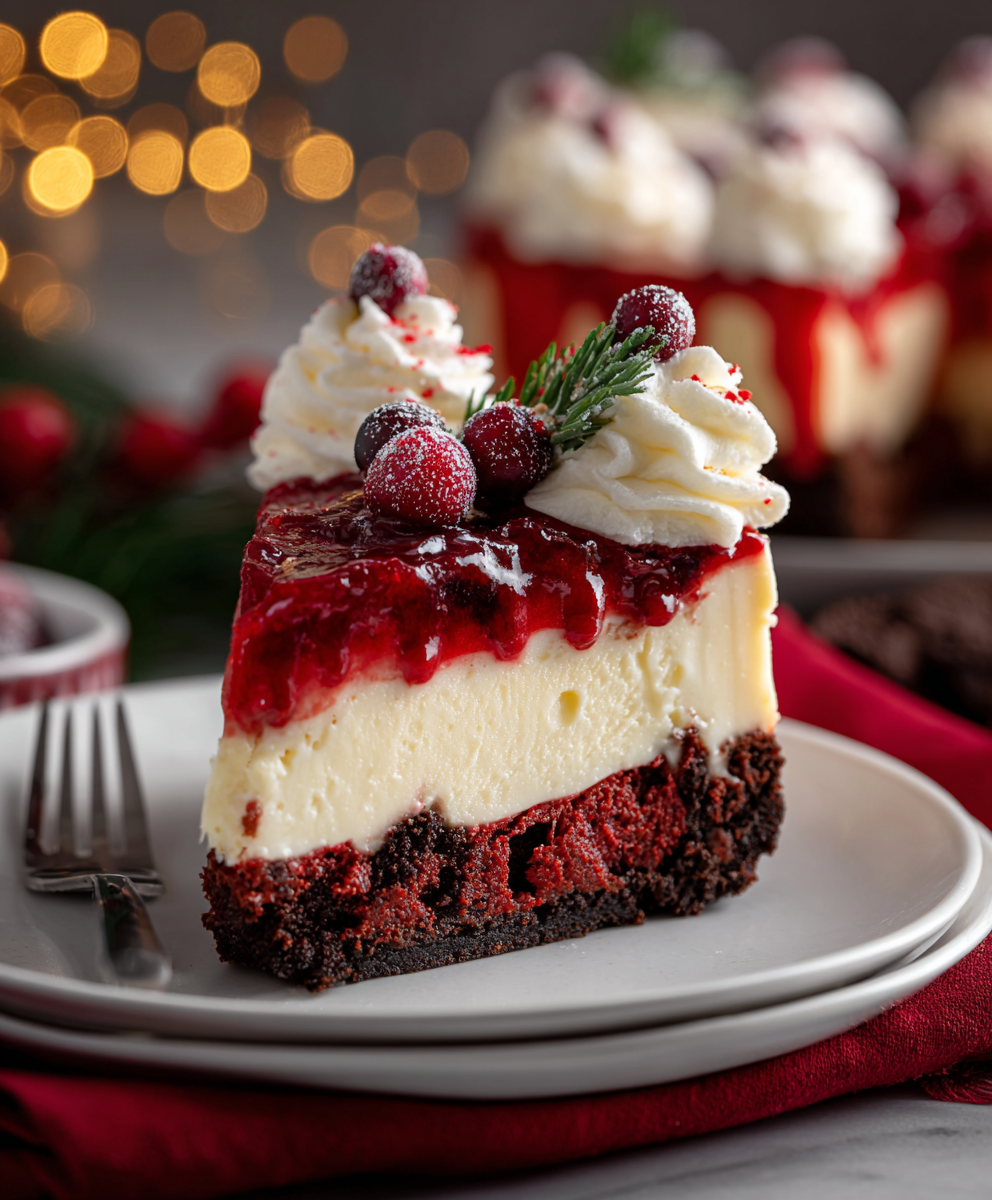
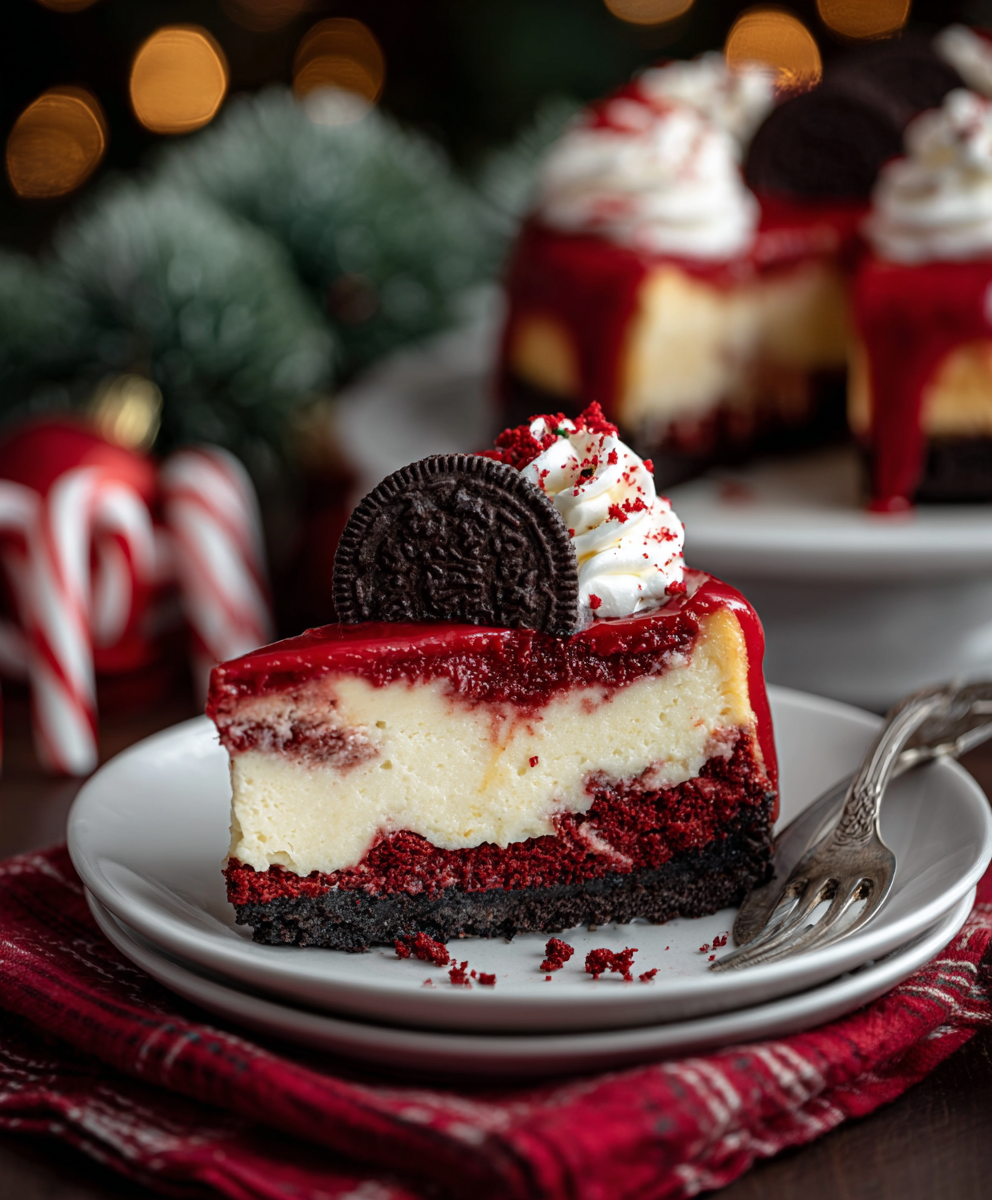
A festive, silky red velvet cheesecake layered on a cookie crumb crust and finished with cream cheese frosting, white chocolate curls, and sugared cranberries — perfect for holiday gatherings.

This Christmas Red Velvet Cheesecake became my signature holiday centerpiece the year I wanted something both familiar and show-stopping. I fell in love with the idea of marrying the velvet, cocoa-tinged flavor and crimson color of classic red velvet with the dense, tangy richness of a baked cheesecake. I discovered the balance of sour cream, cream cheese, and a whisper of cocoa during a chilly December test bake, and the result was a dessert that felt celebratory and comforting at once. Guests always comment on the bold red color and the creamy texture — it makes people gather around the table in that slow, satisfied way only a great dessert can.
I first served this at a family holiday brunch, and my aunt declared it “the best cheesecake I’ve ever had” while my niece insisted on only the white chocolate curls as garnish. What makes this version special is the red velvet cookie crumb crust for visual continuity, the use of full-fat dairy for a luxuriously smooth filling, and a lightly sweet cream cheese frosting piped in festive swirls. It’s worth the little extra care required for baking and chilling — the payoff is a slice that holds its shape beautifully, slices cleanly, and tastes like Christmas in every bite.
Personally, I love how the cookie crumb crust echoes the red velvet flavor while adding a satisfying bite under the creamy filling. Over the years I learned small timing and technique tweaks — like warming eggs to room temperature and using a water bath — that reliably produce a crack-free top and a silky interior.
My favorite thing is the way the tartness of sour cream and cream cheese contrasts with the delicate cocoa and sweetness of the frosting. Once, after trimming the top for a flawless presentation, we celebrated with a small slice and hot coffee — the rosemary and cranberries made it feel like a snowy holiday morning.
Store refrigerated, covered loosely with plastic wrap or in a cake carrier, for up to 4 days. For longer storage, freeze whole or slice into portions, wrap each slice tightly in plastic, then in foil, and place in a freezer-safe container for up to 3 months. To thaw, move to the refrigerator overnight; avoid microwaving as it ruins the texture. If you freeze a full cheesecake, thaw in the refrigerator for 24 hours before serving to ensure even temperature and texture.
For a slightly lighter filling, you can substitute half the sour cream with full-fat Greek yogurt, but expect a tangier flavor and slightly less silkiness. If you must avoid food coloring, increase the cocoa to 2 1/2 tablespoons and add a touch of beet juice for color — note this will alter flavor. For a gluten-free version, replace red velvet sandwich cookies with a gluten-free red velvet cookie or a blend of gluten-free chocolate wafer crumbs; press and bake as directed. Avoid low-fat cream cheese as it can break and yield a curdled texture.
Serve slices chilled, topped with a swirl of cream cheese frosting, a few sugared cranberries, white chocolate curls, and a small rosemary sprig for a festive look. Pair with coffee, espresso, or a lightly sweet dessert wine. For brunch, serve alongside fresh berries and whipped cream; for a dinner party, offer a small scoop of vanilla bean ice cream to complement the creamy density.
Combining red velvet with cheesecake is a modern American twist that plays on nostalgic flavors. Red velvet itself dates to early 20th-century American baking traditions and gained popularity for its striking color and delicate cocoa note. Baked cheesecakes trace back to ancient Greece, but the modern cream-cheese based version is an American classic. This fusion celebrates both traditions — visual drama from red velvet and the luxurious mouthfeel of classic American cheesecake.
In winter, garnish with sugared cranberries and rosemary for a holiday palette; in summer, swap cranberries for macerated raspberries and a bright mint leaf. For New Year’s, add edible gold leaf or a sprinkle of finely grated orange zest for citrus brightness. These small swaps allow the core technique to shine while tailoring the dessert to the season.
Make the crust and filling a day ahead, bake, cool, and chill overnight — this reduces stress on event day. Keep frosting in an airtight container and pipe decorations just before serving for the freshest appearance. If you need to transport, freeze the cheesecake slightly (30–45 minutes) so it’s firmer, then wrap and carry in a padded carrier; thaw carefully in the refrigerator at your destination.
Every holiday I tweak this dessert slightly and it always brings people together. Whether you keep the decoration simple or go full festive, this red velvet cheesecake rewards the little extra attention with both beauty and unforgettable flavor. I hope it becomes part of your holiday rotation too — bring a slice and watch conversations slow down as everyone enjoys the moment.
Use room-temperature cream cheese, eggs, and sour cream to achieve a lump-free, smooth filling.
Avoid high mixing speeds after adding eggs to reduce incorporation of air and prevent cracking.
Allow the cheesecake to cool slowly by turning off the oven and cracking the door for 30 minutes before removing.
This nourishing christmas red velvet cheesecake recipe is sure to be a staple in your kitchen. Enjoy every moist, high protein slice — it is perfect for breakfast or as a wholesome snack any time.
Yes — bake the cheesecake in a water bath and allow it to cool slowly to minimize cracking; chilling overnight also helps.
Wrap the springform pan in heavy-duty foil to prevent water from seeping in during the water bath, and place the springform inside a larger roasting pan before adding hot water.
This Christmas Red Velvet Cheesecake recipe makes perfectly juicy, tender, and flavorful steak every time! Serve with potatoes and a side salad for an unforgettable dinner in under 30 minutes.
Preheat oven to 325°F. Butter a 9-inch springform pan and line the bottom with parchment. Combine cookie crumbs, melted butter, and sugar; press into the pan and bake 8 minutes. Cool while preparing filling.
Beat softened cream cheese until smooth, add sugar, then eggs one at a time on low speed. Blend in sour cream, cocoa, vanilla, salt, and red food coloring until uniform, keeping speeds low to avoid incorporating air.
Pour filling into crust, place springform in a larger roasting pan, add hot water to come halfway up the side, and bake 60–75 minutes at 325°F until edges are set and center slightly jiggles.
Turn off oven and crack door for 30 minutes, then remove and cool to room temperature. Refrigerate at least 6 hours or overnight to set fully.
Beat frosting ingredients until smooth, pipe or spread decorative swirls, and finish with white chocolate curls, sugared cranberries, rosemary sprigs, and cookie crumbs just before serving.
Last Step: Please leave a rating and comment letting us know how you liked this recipe! This helps our business to thrive and continue providing free, high-quality recipes for you.
Leave a comment & rating below or tag
@solushcooks on social media!

A lighter take on a classic comfort favorite that swaps pasta for roasted spaghetti squash and keeps all the creamy, cheesy goodness with optional broccoli or chicken for extra heartiness.

A dreamy no-cook breakfast that tastes like coconut cream pie — creamy coconut milk, tangy Greek yogurt, shredded coconut, and optional banana make mornings feel indulgent and effortless.

Crisp-edged sweet potato rounds roasted until tender, finished with salty feta, a drizzle of honey, and fresh parsley—an effortless crowd-pleaser for gatherings or weeknights.
Leave a comment & rating below or tag @solushcooks on social media!
Enjoyed this recipe? Share it with friends and family, and don't forget to leave a review!
This recipe looks amazing! Can't wait to try it.
Comments are stored locally in your browser. Server comments are displayed alongside your local comments.

Join to receive our email series which contains a round-up of some of our quick and easy family favorite recipes.
