>>

Delicate peppermint-swirled cookies shaped like classic candy canes — buttery, soft, and perfect for holiday trays or gifting.

This candy cane cookie recipe has been my go-to for holiday baking since I first experimented with peppermint and pastry dough in a tiny apartment kitchen. I remember pulling a tray of these from a too-hot oven one December evening and watching my neighbors’ faces light up as the peppermint aroma drifted down the hallway. They are softly tender, faintly crisp at the edges, and the peppermint whisper keeps them feeling cool and festive. I discovered the red-and-white twist by necessity: I had a little gel food coloring and a patient child who loved helping roll ropes of dough into tiny canes.
What makes these cookies special is their simple, buttery base that doubles as a canvas for peppermint flavor. The texture is delicate—soft in the center with lightly golden undersides—and they pair beautifully with a strong cup of coffee or a glass of cold milk. Because the dough holds its shape well, the candy cane silhouette is both charming and easy to produce even if you are new to hand-shaped cookies. Baking these brings a sense of tradition to the kitchen and a ritual of togetherness during the holidays.
Personally, I love how this recipe became a family tradition. The first time my niece helped shape the canes she insisted on making every single one identical, which lasted exactly three cookies. Over the years I’ve learned to embrace imperfect twists and that the best cookies are usually the ones with a little personality. Neighbors have requested these for cookie swaps more than once, and I always add an extra dozen just in case.

My favorite aspect is how forgiving this dough is. If you make slightly larger or smaller canes, they still bake beautifully. One year I doubled the peppermint for an after-dinner cookie plate and the mint note was wildly popular — but for most people I find the half teaspoon hits the sweet spot between subtle and seasonal.

To keep cookies fresh, allow them to cool completely before storing in an airtight container layered with parchment paper. Room temperature storage lasts about five days. For longer storage, freeze baked cookies in a single layer on a sheet tray, then transfer to a freezer bag and remove excess air; they keep well for up to three months. If freezing dough, shape the canes, flash-freeze on a tray until firm, then bag; bake from frozen, adding 1 to 2 minutes to the bake time. Reheat briefly in a 300°F oven for a just-baked feel.
If you need dairy-free cookies use a plant-based butter stick measured 1:1; expect slightly different melt and flavor. For a gluten-free version, substitute a 1:1 gluten-free flour blend and add 1/4 teaspoon xanthan gum if your blend lacks it to maintain structure. If peppermint extract is unavailable, use 1 teaspoon of finely ground crushed candy cane or 1/2 teaspoon of mint extract, noting that intensity varies by brand. For natural coloring, a small amount of beet powder mixed with a touch of water can create pink tones, but color will be more muted.
These cookies are beautiful on a cookie platter alongside gingerbread and spiced cookies. Serve with hot chocolate, espresso, or mulled cider for a delightful contrast. For gifting, layer in a decorative tin with tissue paper or place in cellophane bags with a ribbon and a note. Garnish with a small dusting of powdered sugar for a snowy effect or a tiny sprinkle of crushed peppermint at the base of the cane for a sparkly finish.
The candy cane shape is an emblem of winter traditions with roots in European holiday customs where shaped sugar confections marked celebrations. Over time, the peppermint-flavored cane evolved into a popular sweet tied to Christmas imagery in many Western cultures. These cookies reinterpret that classic form into a baked good, combining cookie techniques with confection motifs common to holiday baking traditions across North America and Europe.
To adapt this dough for other seasons, swap peppermint for citrus zest and a few drops of orange oil for winter citrus cookies, or add a teaspoon of ground cinnamon for a fall twist. Change the color to festive pastels for Easter or red and green for Valentine’s-themed gifts. For New Year’s celebrations, twist in a tiny sprinkle of edible gold dust on the red ropes before baking for a celebratory look.
For batch prep, make the dough ahead and refrigerate up to 48 hours or freeze portions for up to 1 month. Shape only what you plan to bake immediately and keep the rest chilled. Use labeled freezer bags to store pre-shaped canes and pull out for baking as needed; this staggered method keeps fresh cookies available throughout the holiday season without the rush of baking everything at once.
These candy cane cookies are a small, joyful project that rewards patience and invites sharing. They stay tender, look festive, and have become my trusted item for holiday plates — I hope they find a place on your table too.
Use room-temperature egg to ensure smooth dough texture and even baking.
Start with a tiny amount of gel color and add more until you reach the shade you like to avoid staining and over-coloring.
If dough is too soft to shape, refrigerate for 10 to 15 minutes rather than adding more flour to preserve tenderness.
Flash-freeze shaped canes on a tray before bagging for long-term storage; they will bake well straight from frozen.
This nourishing candy cane cookies recipe is sure to be a staple in your kitchen. Enjoy every moist, high protein slice — it is perfect for breakfast or as a wholesome snack any time.
This Candy Cane Cookies recipe makes perfectly juicy, tender, and flavorful steak every time! Serve with potatoes and a side salad for an unforgettable dinner in under 30 minutes.
Preheat oven to 375°F (190°C). Line baking sheets with parchment or silicone mats to ensure even baking and easy removal.
Beat softened butter and powdered sugar for 3 to 4 minutes until pale and fluffy, scraping the bowl once for even aeration.
Beat in the room-temperature egg, vanilla, and peppermint extract until smooth and fully incorporated.
Whisk flour and salt, then add gradually to the wet ingredients on low speed. Mix until a soft, non-sticky dough forms—do not overmix.
Split dough in half. Add a small amount of red gel coloring to one half and knead until evenly colored. Adjust color sparingly.
Roll 1 teaspoon portions of each color into 4-inch ropes. Place ropes side by side, press lightly, twist, and bend the top into a cane shape. Arrange on prepared sheets.
Bake 8 to 10 minutes until bottoms are lightly golden. Cool on the pan for 5 minutes, then transfer to a wire rack to cool completely.
Last Step: Please leave a rating and comment letting us know how you liked this recipe! This helps our business to thrive and continue providing free, high-quality recipes for you.
Leave a comment & rating below or tag
@solushcooks on social media!
A lighter take on a classic comfort favorite that swaps pasta for roasted spaghetti squash and keeps all the creamy, cheesy goodness with optional broccoli or chicken for extra heartiness.
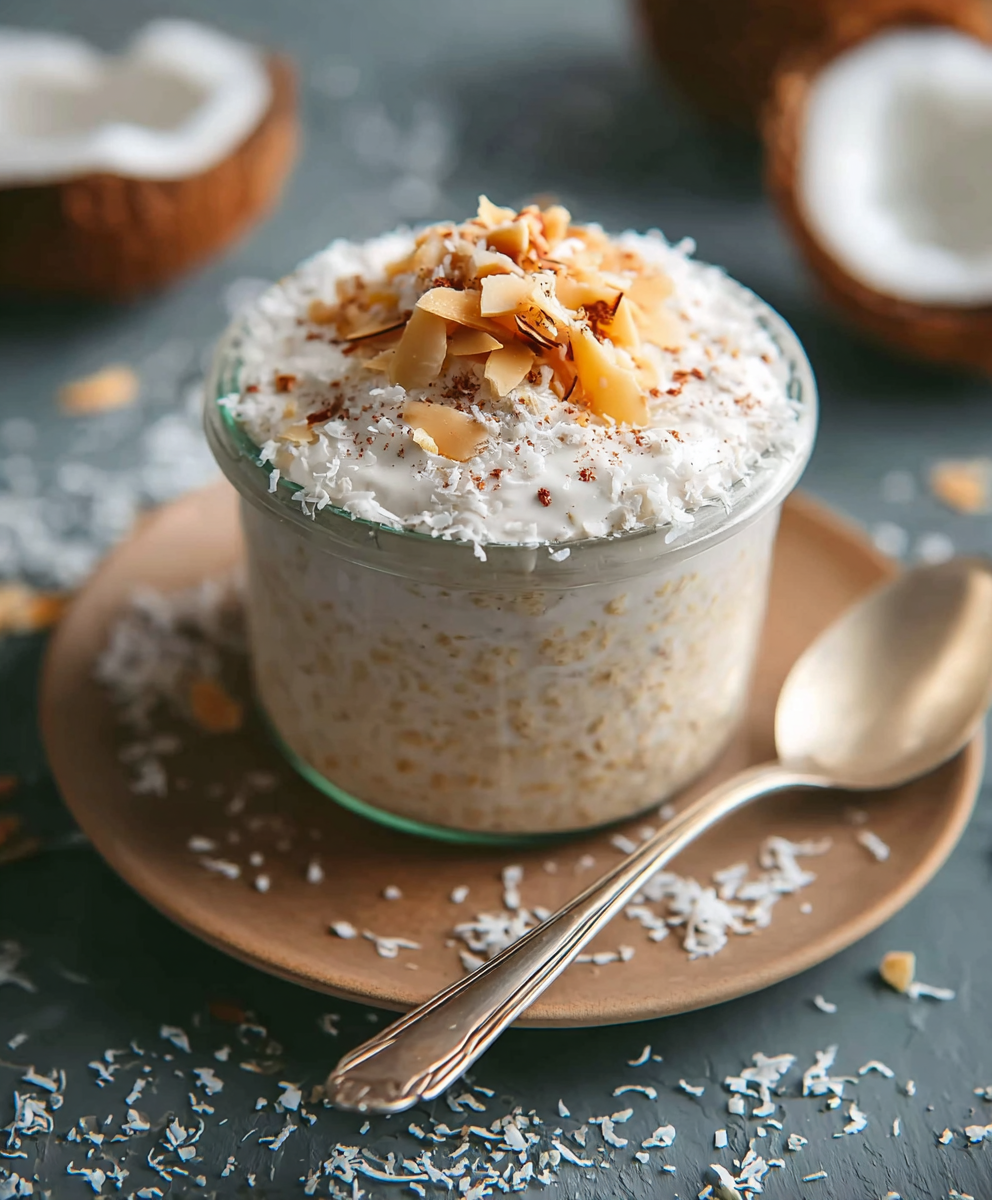
A dreamy no-cook breakfast that tastes like coconut cream pie — creamy coconut milk, tangy Greek yogurt, shredded coconut, and optional banana make mornings feel indulgent and effortless.

Crisp-edged sweet potato rounds roasted until tender, finished with salty feta, a drizzle of honey, and fresh parsley—an effortless crowd-pleaser for gatherings or weeknights.
Leave a comment & rating below or tag @solushcooks on social media!
Enjoyed this recipe? Share it with friends and family, and don't forget to leave a review!
This recipe looks amazing! Can't wait to try it.
Comments are stored locally in your browser. Server comments are displayed alongside your local comments.

Join to receive our email series which contains a round-up of some of our quick and easy family favorite recipes.